 Real Estate Camera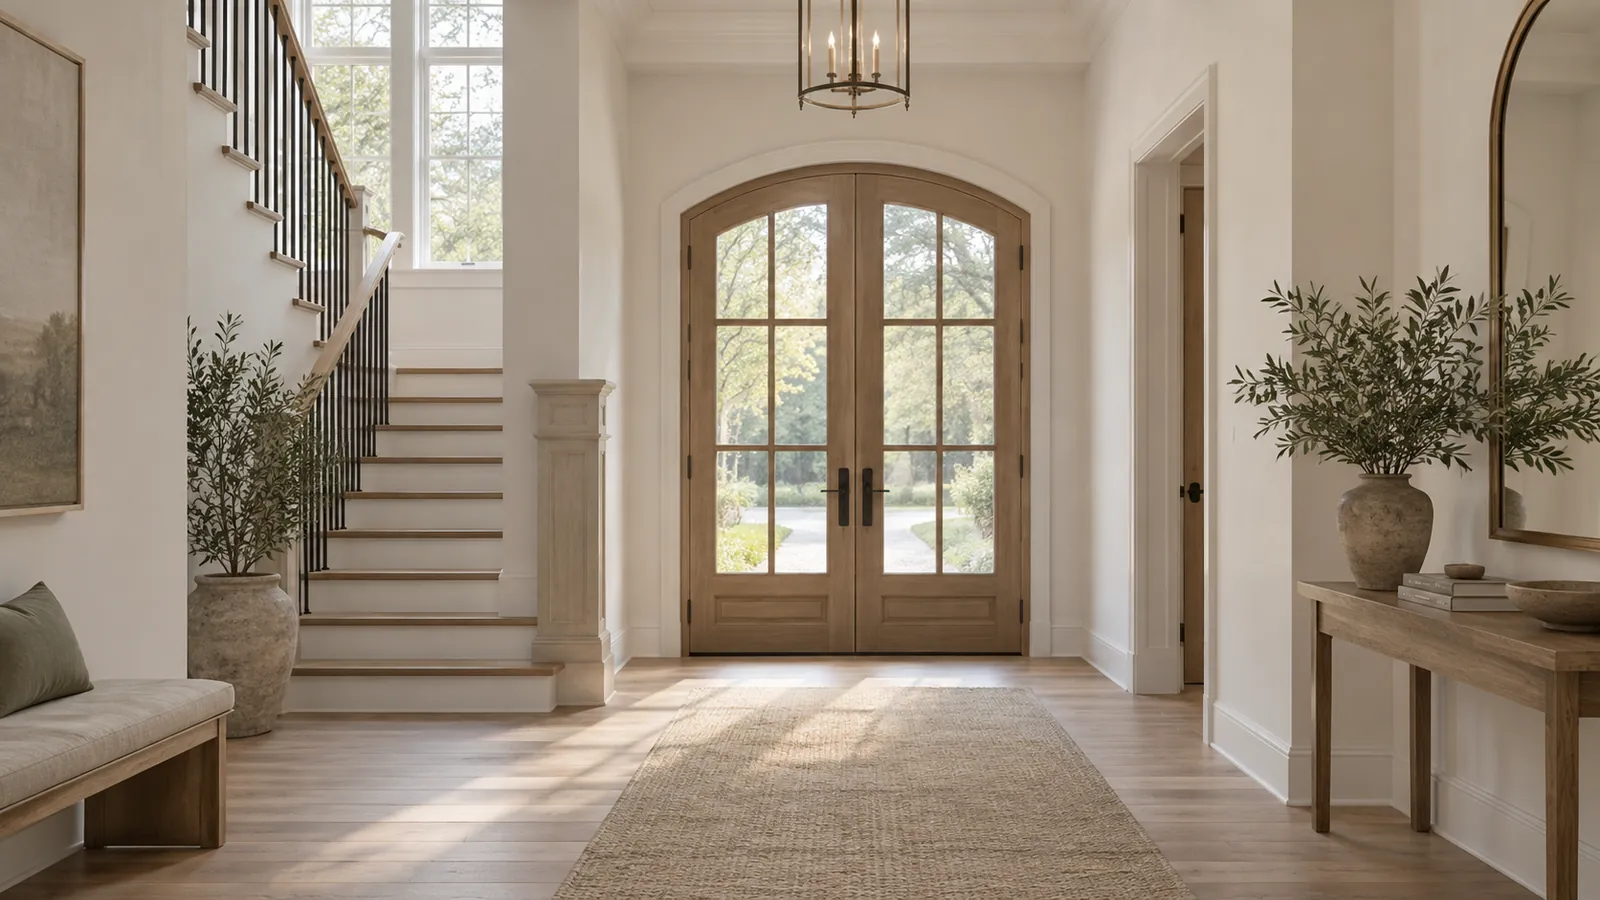
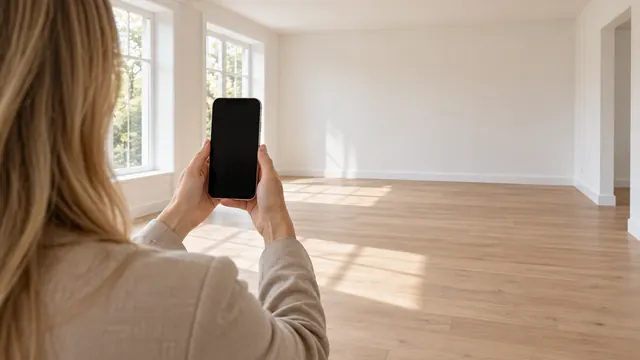
Vertical lines lean in property photos when you tilt the camera up or down. Keep the phone or camera level at about light-switch height, and step back to fit the room in the frame. Already taken the shot? Use the vertical tilt slider in iPhone Photos, the Perspective tool in Snapseed or Upright in Lightroom.
Look at the door frame near the edge of the photo. That's usually where the lean shows first.
Why verticals lean
Walls, door frames and window edges run straight up and down. They stay that way in a photo when the camera's sensor is parallel to them. That means keeping the camera level from front to back.
Point the phone down to capture more of the floor, and the top of the frame is further from the walls than the bottom. The walls then lean inwards towards the bottom. Point it up to capture a chandelier, and they slope outwards at the top. Photographers call this converging verticals, or keystoning. Nothing makes a property photo look amateur as quickly.
Two things make it worse:
- The problem is more obvious with wide lenses. A phone's 0.5x ultra-wide setting captures a very wide field of view, so even a slight tilt produces a pronounced lean. Lines near the edges lean the most. Look at the door frame at the side of the shot.
- You also get into trouble by standing too high. From eye height, you cannot get the whole room in the frame unless you point the camera down. So you point it down. It all comes down to that one habit.
Three different problems that look similar
Before you reach for a slider, check whether the lines lean, rotate or curve. Each one needs a different correction.
- Lines that lean towards each other at the top or bottom are converging verticals. Tilting the camera forwards or backwards causes this. Apply a vertical perspective correction.
- If everything rotates in the same direction, as if the room is sliding downhill, you have a crooked horizon. The phone was tilted sideways. Simply straighten or rotate the image to fix it.
- Edges that bow outwards near the sides of the frame are curved lines. That's lens distortion. Correct it with a lens profile; perspective tools will not fix it. On iPhone, the Lens Correction setting handles this for the Ultra Wide camera, and Apple enables it by default.
Most poor property photos have the first two problems at once.
How to avoid leaning verticals when you shoot
Correcting perspective in editing costs you part of the image, usually the edges of the frame. Getting it right on site is quicker.
Keep the camera level in both directions
On an iPhone, go to Settings, then Camera, and switch on Grid and Level. Apple's camera tools guide covers both. The level line shows any side-to-side tilt. To check for front-to-back tilt, which causes converging verticals, align a door frame or wall corner with a vertical grid line. If the frame or corner is parallel to the line, the camera is level.
On a tripod, use the bubble level in the head, then check the grid. A cheap tripod head can sag once you've locked it.
Lower the camera
Drop to light-switch height, around chest height, where a level shot gives a sensible balance of floor and ceiling without making you want to point down. Camera height won't straighten lines; keeping the camera level will. The right height simply removes the need to tilt.
Move back rather than tilt
If the bed or kitchen island doesn't fit, move back into the corner or try a different one. Tilting the camera down to squeeze it in is what causes most leaning shots.
Shoot slightly wide
Leave space around what matters. Even a small correction crops the edges, and that spare margin can stop a doorway or window being cut off.
Exterior shots are the tricky ones
A two-storey house viewed from the pavement is taller than the frame, so your instinct is to point up at the roofline. Every corner of the house then appears to lean back. Instead, cross the road or walk to the end of the drive, keep the phone level, and let the bottom of the frame fill with lawn. Crop out the extra lawn later. You end up with a smaller house in a tighter crop, and every corner stands up straight.
If you can't move back far enough, raise the camera. Holding the phone higher, at arm's length or on a tall tripod, brings the lens closer to the middle of the façade, so you need less tilt to fit the roof in.
For the rest of your phone setup, see how to take property photos with an iPhone.
How to fix vertical lines after the shoot
iPhone Photos (free, already on your phone)
- Open the photo and tap Edit.
- Tap the crop tool.
- Choose the vertical tilt control under the frame. Drag the slider until the door frames stand straight.
- Use the straighten control if the whole image is also rotated.
- Tap Done.
Apple documents the Straighten and Tilt controls here. Photos is fine for small corrections. Use the line closest to the edge of the frame as a guide, as that is where the lean is most noticeable.
Snapseed (free, iPhone and Android)
Open the photo, go to Tools, then Perspective. Drag to pull the verticals upright. According to Google's Snapseed help, edge healing can fill the empty corners left by the correction. You can also switch it off and crop them out. For listing photos, I would crop them out. Filled-in edges sometimes invent bits of wall or floor, and buyers will rely on this photo.
Lightroom Classic (paid, the most control)
In the Develop module, turn on the lens profile correction for your camera first. Adobe recommends this order because lens correction gives Upright better lines to work with. Open the Transform panel and choose an Upright mode:
- Start with Vertical for interiors. It corrects vertical perspective only.
- Choose Auto to balance vertical and horizontal correction while keeping as much of the image as possible.
- Switch to Guided when Vertical selects the wrong lines, such as a slanted ceiling beam. Draw two or more guides along edges that should be straight, such as two door frames.
After Upright, fine-tune with the Vertical slider and scale the image back to hide the gaps. You can sync the settings across shots of the same room if they were all taken from the same tripod height.
Know when to stop
Big corrections stretch the top of the frame. Ceiling lights turn into ovals. Furniture looks tall and thin. If a photo needs substantial correction, reshooting is often the better choice. In a shot of a two-storey foyer taken from the floor looking upwards, leaving a slight lean usually looks more natural than correcting it fully.
Letting the app do it
When you're editing 30 photos for a listing by hand, straightening verticals is only part of the work. The warm cast from the bulbs and a blown-out window usually need attention too.
Real Estate Camera's Enhance handles all of that in one go. It straightens verticals and corrects the light and colour in 20 to 60 seconds for 1 credit. It won't change the architecture or remove anything from the room. Shoot in the app on iPhone, iPad or Android, or upload on the web.
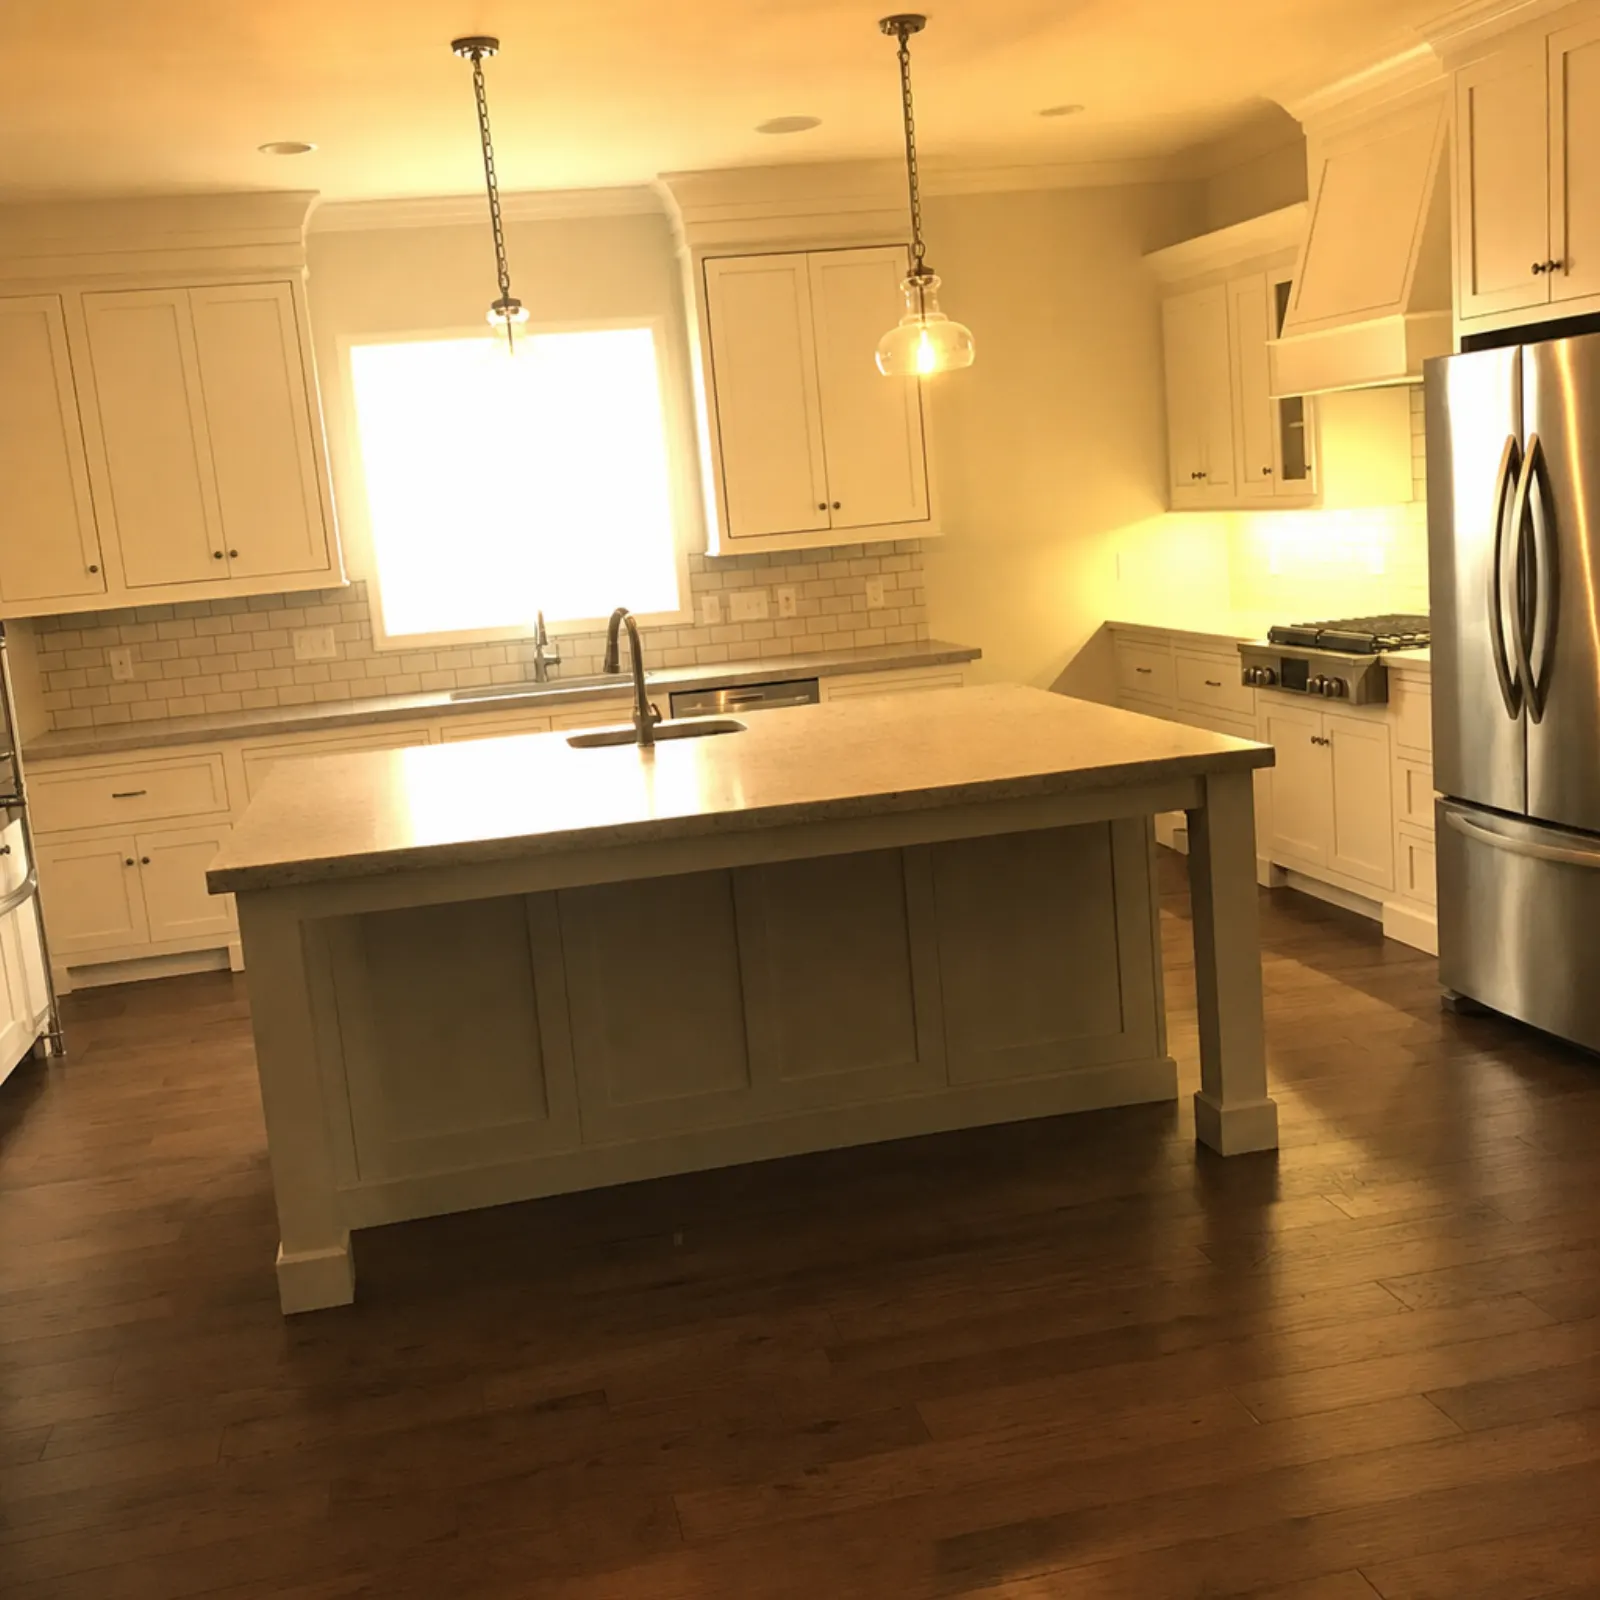
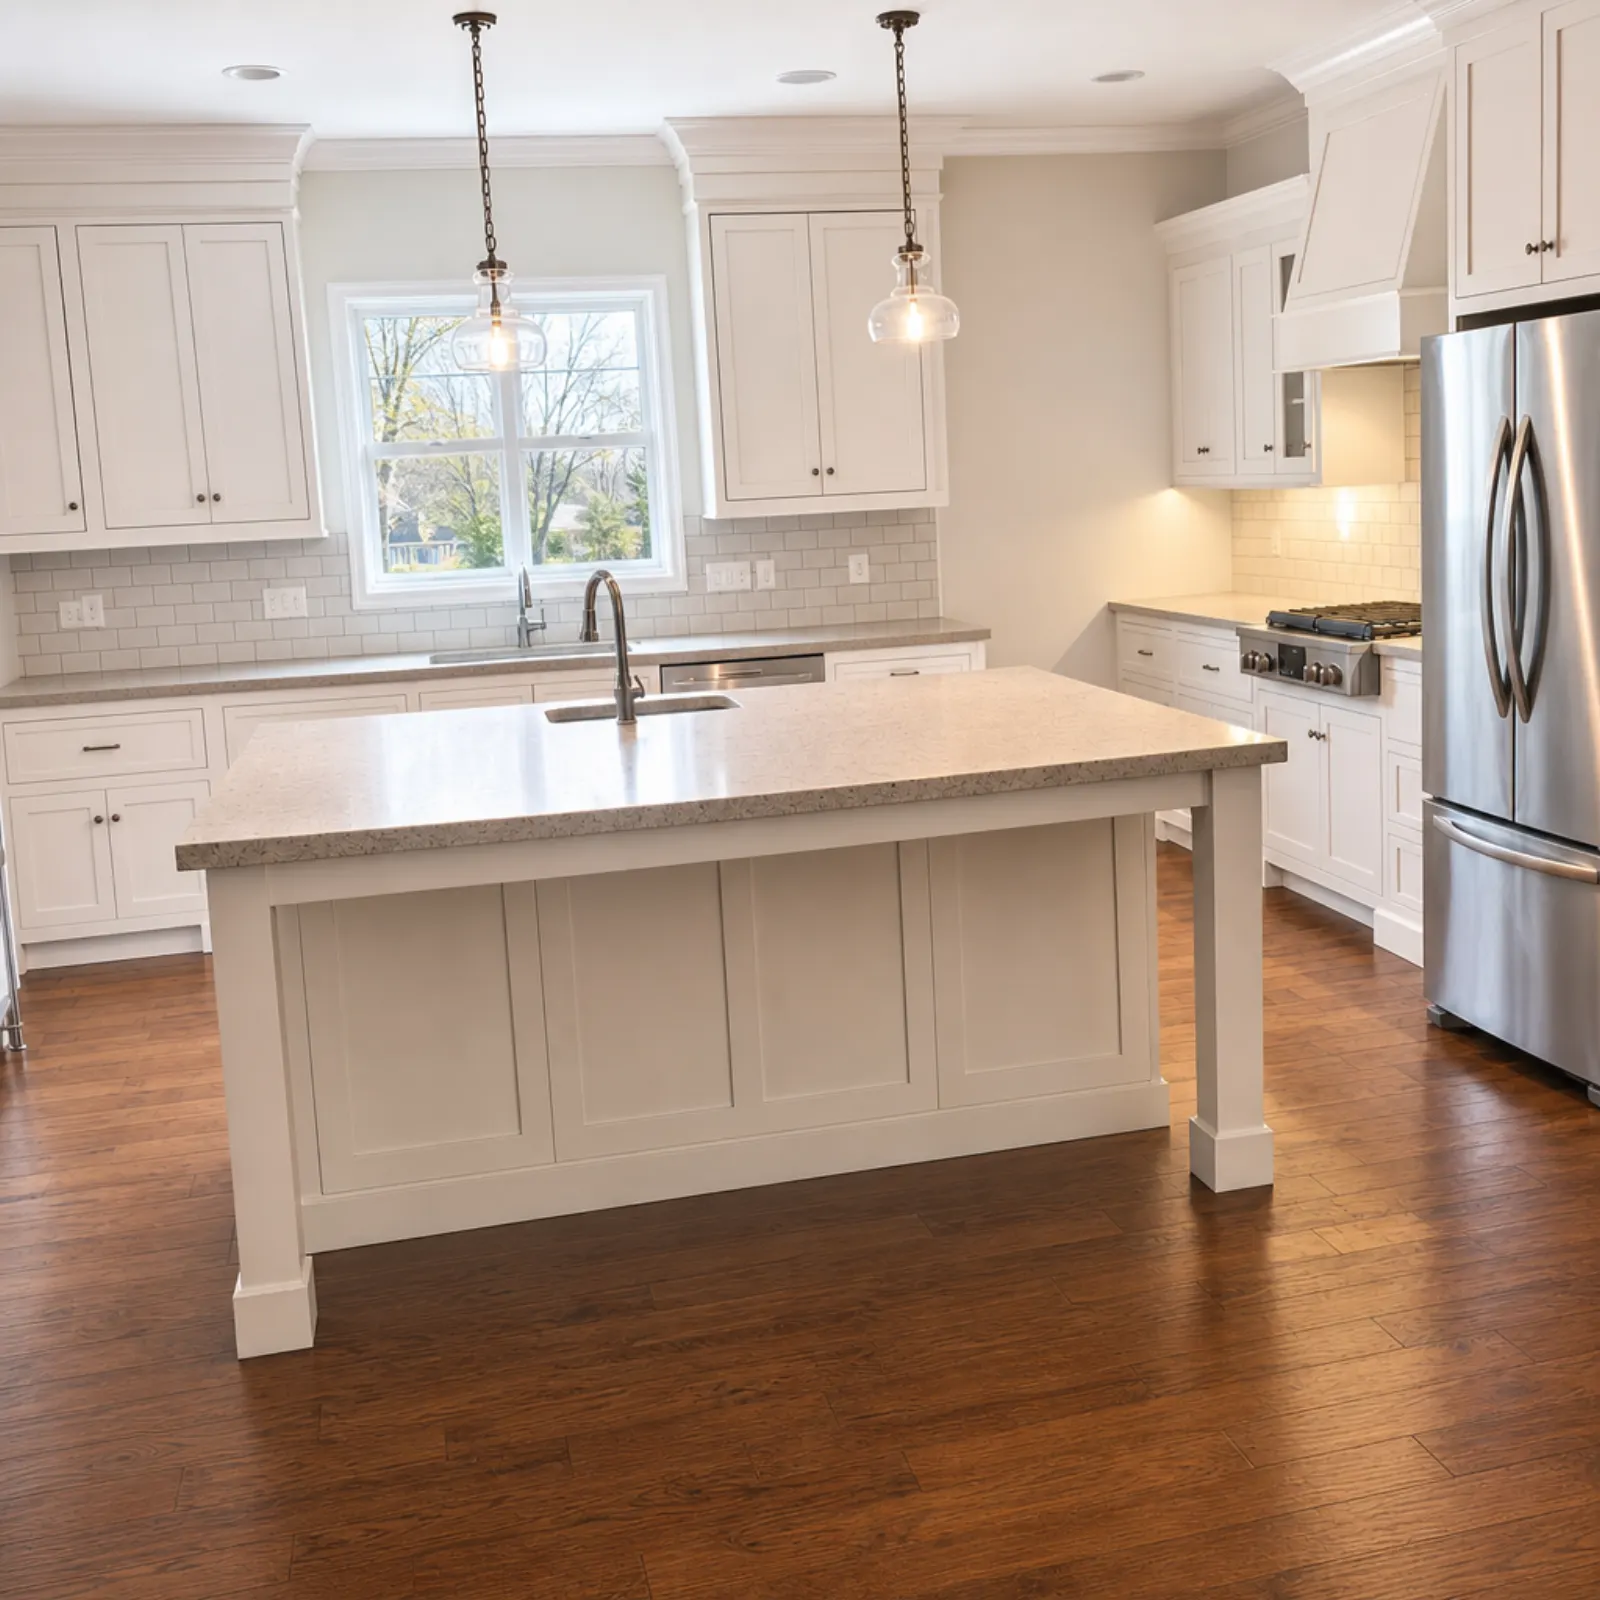
A quick check before you upload
- Look at the line closest to each side of the frame. A door frame or the side of a fridge works.
- Check wall corners in the middle of the frame. They should run straight up.
- Check the ceiling line and skirting boards for a crooked horizon.
- Scan for stretching. Round light fixtures should still be round.
If a room also came out dim, fixing dark real estate photos covers exposure. For which rooms to shoot, see the real estate photo shot list.
To find out how Enhance fixes this in our app, see AI real estate photo editing.
Straighten a leaning room in one tap. Start for free: 1 credit.
Questions
Why do the walls lean in my property photos?
The camera was tilted up or down when you took the shot. Once the lens is no longer parallel to the walls, vertical lines converge, and a wide lens such as the iPhone's 0.5x makes them lean much more towards the edges of the frame.
How do I straighten verticals on my iPhone?
Open the photo in Photos, tap Edit and then the crop tool, and use the vertical tilt control to straighten the lines. For more control, the Perspective tool in Snapseed or the Upright settings in Lightroom can do the same job with more options.
Which Lightroom Upright setting is best for property photography?
Start with Vertical. If it overcorrects or selects the wrong lines, use Guided and draw two guides along door frames or wall corners that you know are straight.
Why does my photo look stretched after correcting the verticals?
Perspective correction pulls the top or bottom of the frame outwards and crops the edges, so large corrections distort the room. The solution is to shoot with the camera level so that only a small correction is needed afterwards.
Does height matter for straight verticals?
Height does not cause the lean; tilting does. However, the right height, around light-switch level, lets you fit the room in the frame without tilting the camera up or down, which is what keeps the lines straight.