 Real Estate Camera
Property photos come out dark because your phone exposes for the window, the brightest thing in the room, and leaves everything else in shadow. Turn on every light and shoot when the sun isn't shining straight through the glass. Lock the exposure on the room rather than the window, then lift the shadows and reduce the highlights in an editing app. For blown-out windows, take a second shot exposed for the window and blend the two.
The aim is a brighter photo that accurately reflects the property. Editing stops where misrepresentation begins.
Why rooms look dark on a phone
Your eyes can handle a bright window and a dim corner at the same time. A phone sensor can't, at least not in a single exposure. It settles on a middle exposure, but indoors the window pulls that exposure up. The camera darkens the frame to protect the window. The kitchen island ends up a muddy brown.
Modern phones try to compensate for this. Apple's HDR guide says that the iPhone “takes several photos in rapid succession at different exposures and blends them together”. It does this by default when it thinks it will help. And it does help. But HDR doesn't fully solve the problem of a south-facing window at 2pm, and it can't add light that was never in the room.
Colour causes problems too. Warm bulbs and daylight from the window fall within the same frame. Add a cool LED beneath the cabinets and the camera has another colour to balance. The resulting yellow-orange cast can make a room look dim even when the exposure is fine. The kitchen below has both problems.
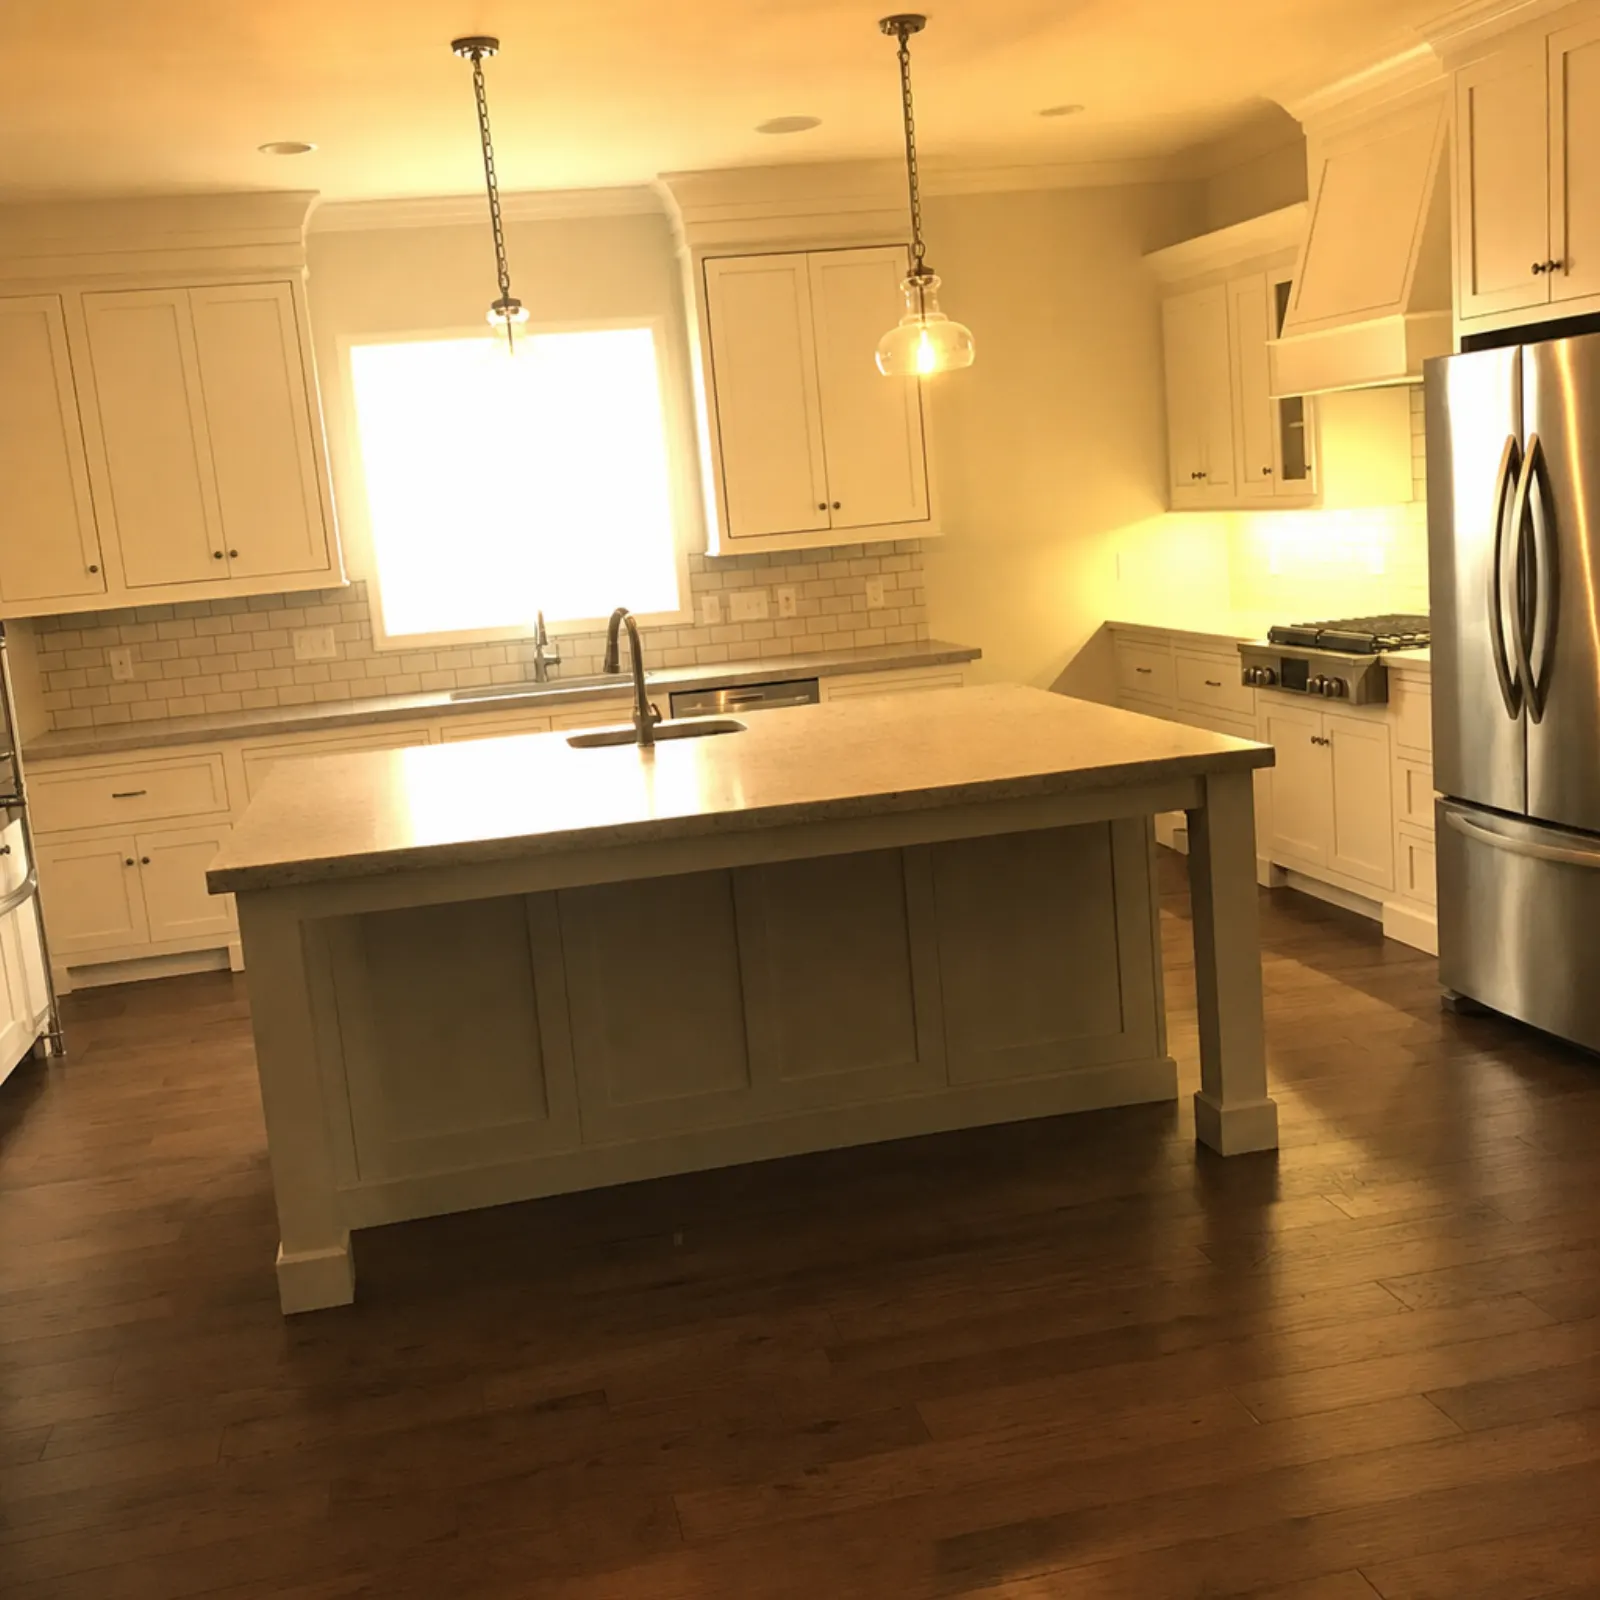
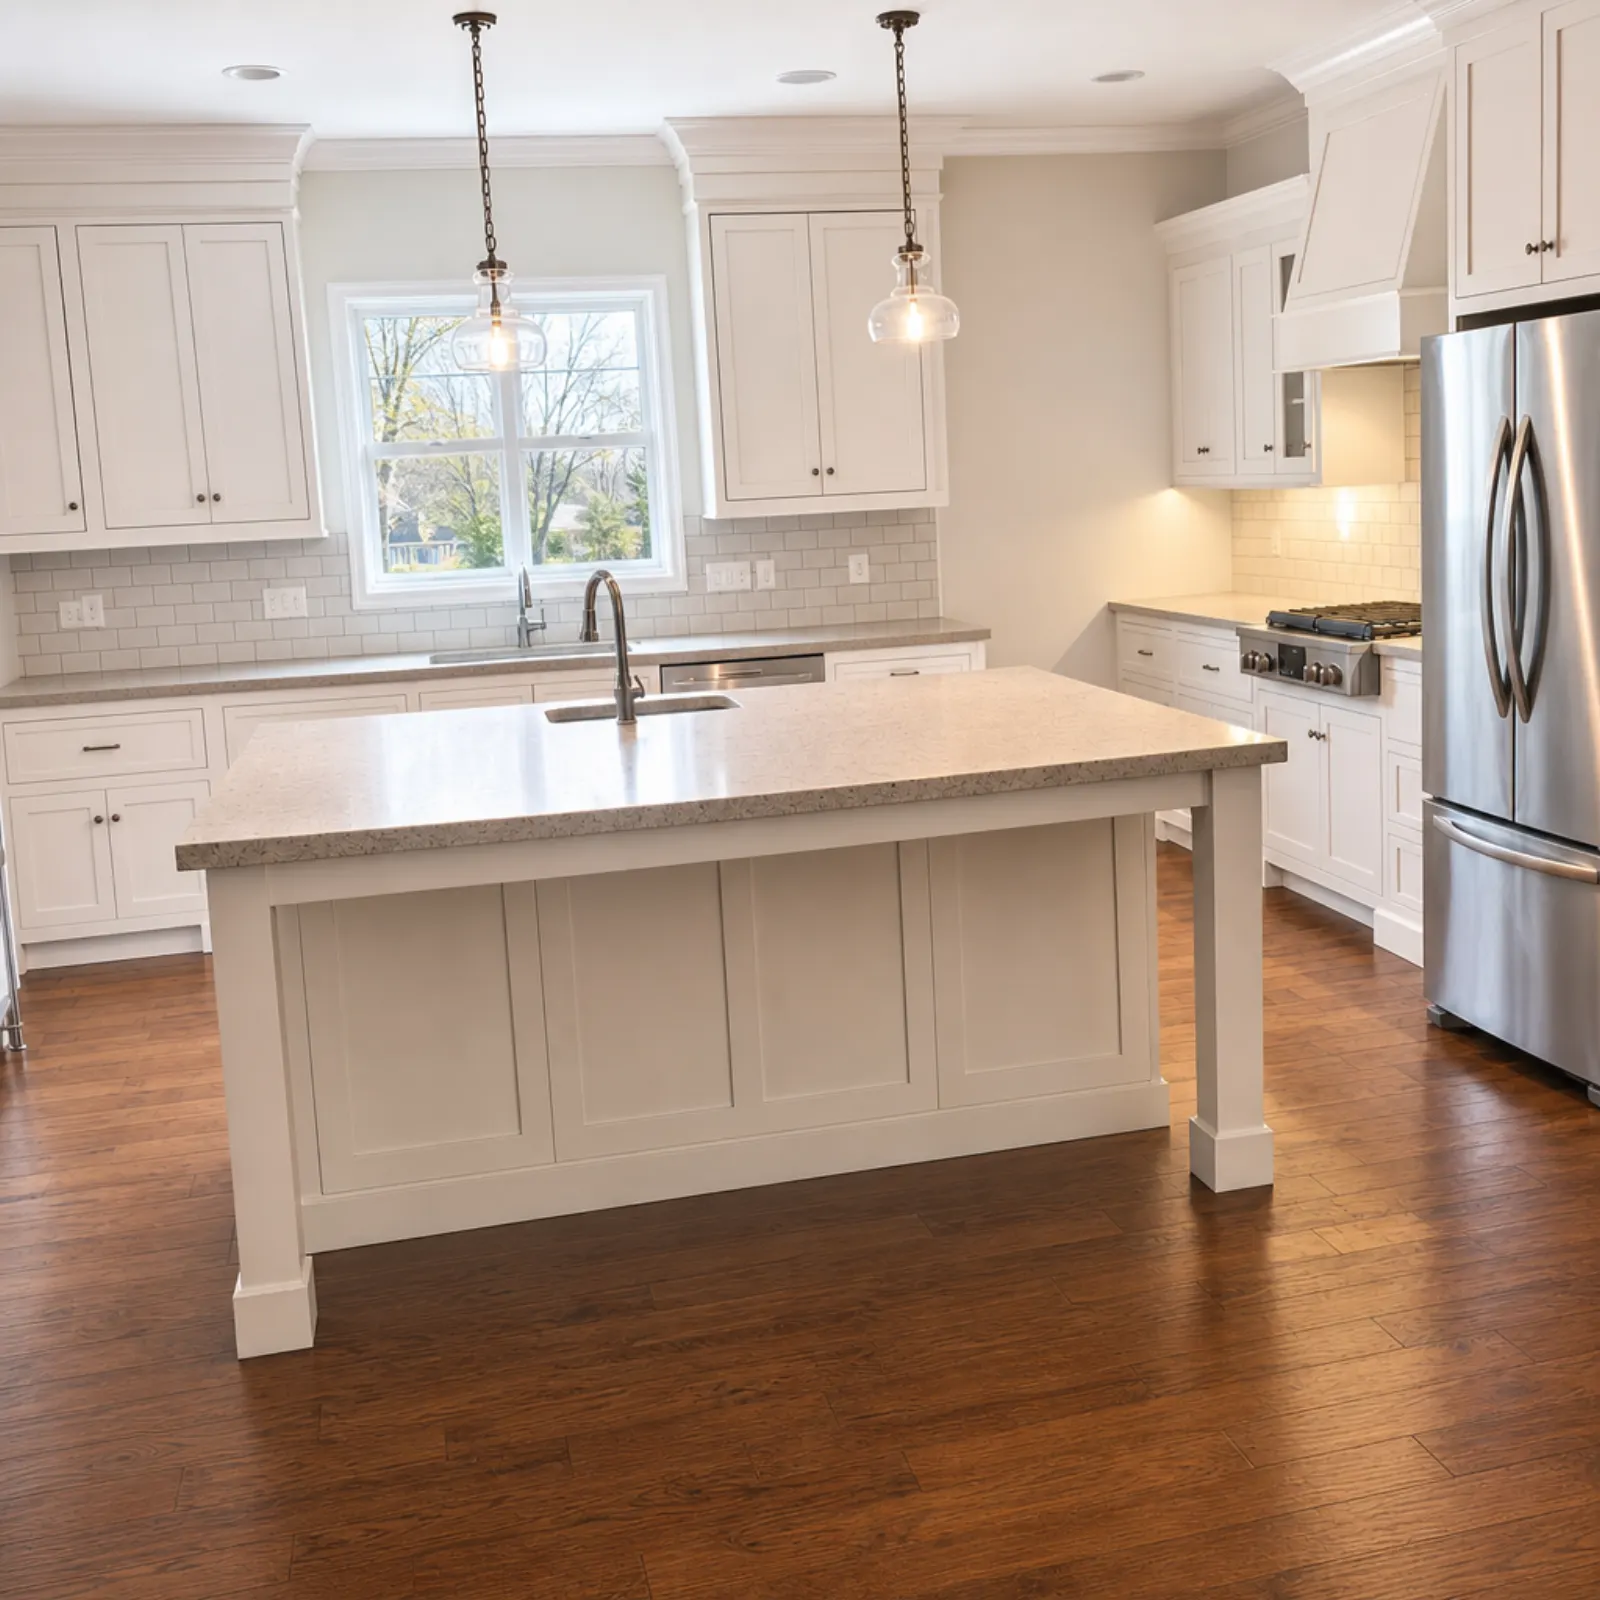
Fix it at the property first
Every minute spent here saves five in editing. This is the order I work in.
1. Turn on every light, then check the colours
Lamps, ceiling lights, under-cabinet light strips, the extractor hood light, bathroom mirror bulbs. More light indoors shrinks the gap between the room and the window. That's the problem you're trying to fix. Then check the screen: if one light fitting is a different colour from the others, such as a blue-white LED next to warm bulbs, turn that one off. A mixed colour cast is harder to fix than a slightly darker room.
2. Pick the time of day
For interiors, shoot when the sun isn't hitting the windows directly. That means east-facing rooms in the afternoon and west-facing rooms in the morning. Overcast days are underrated for interiors. The sky is dimmer, so windows blow out less. Exteriors need the opposite: light on the front of the house, which usually means keeping the sun behind you.
3. Lock the exposure on the room
On iPhone, touch and hold a mid-toned part of the room, such as a wall or cabinet door, until AE/AF Lock appears. Keep off the window. Drag the sun icon up a little to brighten; the lock holds while you take several frames. Android cameras work much the same way: tap to set the exposure point, then use the brightness slider. Expect the window to go white. Fine for now.
4. Take a second frame for the window
Keep the phone still, lock the exposure on the window and take a second shot. The room will be nearly black, but the view will be there. These two shots give you a phone "window pull". Later, blend them in Photoshop with a layer mask, painting the window from the dark frame into the bright one. A tripod helps a lot. If you're holding the phone by hand, brace it against a door frame and keep it at the same height for both shots.
On an iPhone Pro, ProRAW files hold more highlight detail than a standard photo. You can sometimes recover a window from one frame. Direct sun on the window is still too much.
5. Keep the phone level
Levelling the phone won't fix the light. But dark photos and tilted walls tend to show up together, and each makes the other look worse. The vertical lines guide covers straightening. For grid settings and advice on lens choice and camera height, see our iPhone settings guide.
Editing fixes with real numbers
Every photo is different. Treat these values as starting points, not presets, and adjust one slider at a time. Pay attention to the ceiling whites and the darkest corner.
Lightroom mobile
For a typical underexposed interior with a bright window, these are the values I start from in Lightroom's Light panel:
| Slider | Start at | What you're doing |
|---|---|---|
| Exposure | +0.3 to +0.7 | Brightens the room overall |
| Highlights | -60 to -100 | Brings back detail in the window and on the ceiling |
| Shadows | +40 to +70 | Lifts dark areas under the island and across the floor, including corners |
| Whites | +10 to +25 | Makes white walls and trim look white |
| Blacks | -5 to -15 | Restores the depth lost when you lifted the shadows |
| Contrast | 0 to +10 | Use only if the photo looks flat after the steps above |
Then open Colour. Use the white balance eyedropper on a white ceiling or cabinet, not a cream-painted wall. For a warm cast like the kitchen above, that click shifts Temp towards blue and removes most of the cast. Leave Saturation near zero; add no more than +5 to +10 Vibrance. Over-saturated hardwood quickly turns orange.
Watch out for a grey, glowing halo where the walls meet the window, or shadows that become noisy and blotchy. You've gone too far. Reduce Shadows by around 15 and add a little more Exposure instead.
Snapseed
Snapseed is free and does a decent job. Open Tune Image and swipe vertically to choose a setting:
- Brightness +10 to +20
- Shadows +30 to +50
- Highlights -30 to -60
- Reduce Warmth if the room looks yellow, usually -5 to -15
- Ambiance +5 to +15. Push it higher and interiors start to look like an HDR photo from 2012.
Snapseed won't blend two exposures for you. For a proper window pull, you'll need Photoshop or an app that recovers the window in one pass.
One-tap tools
If you'd rather not touch the sliders, an AI enhancement makes the same adjustments to exposure, shadows, white balance and verticals. In Real Estate Camera, Enhance costs 1 credit and takes 20 to 60 seconds. It won't use the Declutter feature or change the architecture. A grey sky stays grey.
What honest editing means
Brightening a room is fine. Changing what the buyer will see when they arrive is not.
California's AB 723 sets that boundary. It exempts routine adjustments to exposure and colour and also covers straightening and cropping, provided they "do not change the representation of the real property." Adding to, removing from or changing the garden, the façade, "views through windows" or "neighbouring properties" makes the image digitally altered. This requires a disclosure next to the photo and a link to the original. The bill was signed into law in October 2025.
For a photo used in an MLS listing, here's how that distinction affects whether you need a label:
- Restoring the actual view through a window from a second exposure you took yourself is an exposure adjustment.
- Pasting a stock photo of trees into that window is an alteration.
- Brightening a gloomy February exterior so the cladding appears white is a colour correction.
- Swapping in a blue sky or painting a dormant lawn green changes how the house looks on the day a buyer visits. Treat it as an alteration and disclose it.
NorthstarMLS's proposed guidelines make the same distinction: exposure and colour balance are permitted; fabricating features that don't exist is not. NAR's Standard of Practice 12-10 also covers misleading images for every REALTOR®.
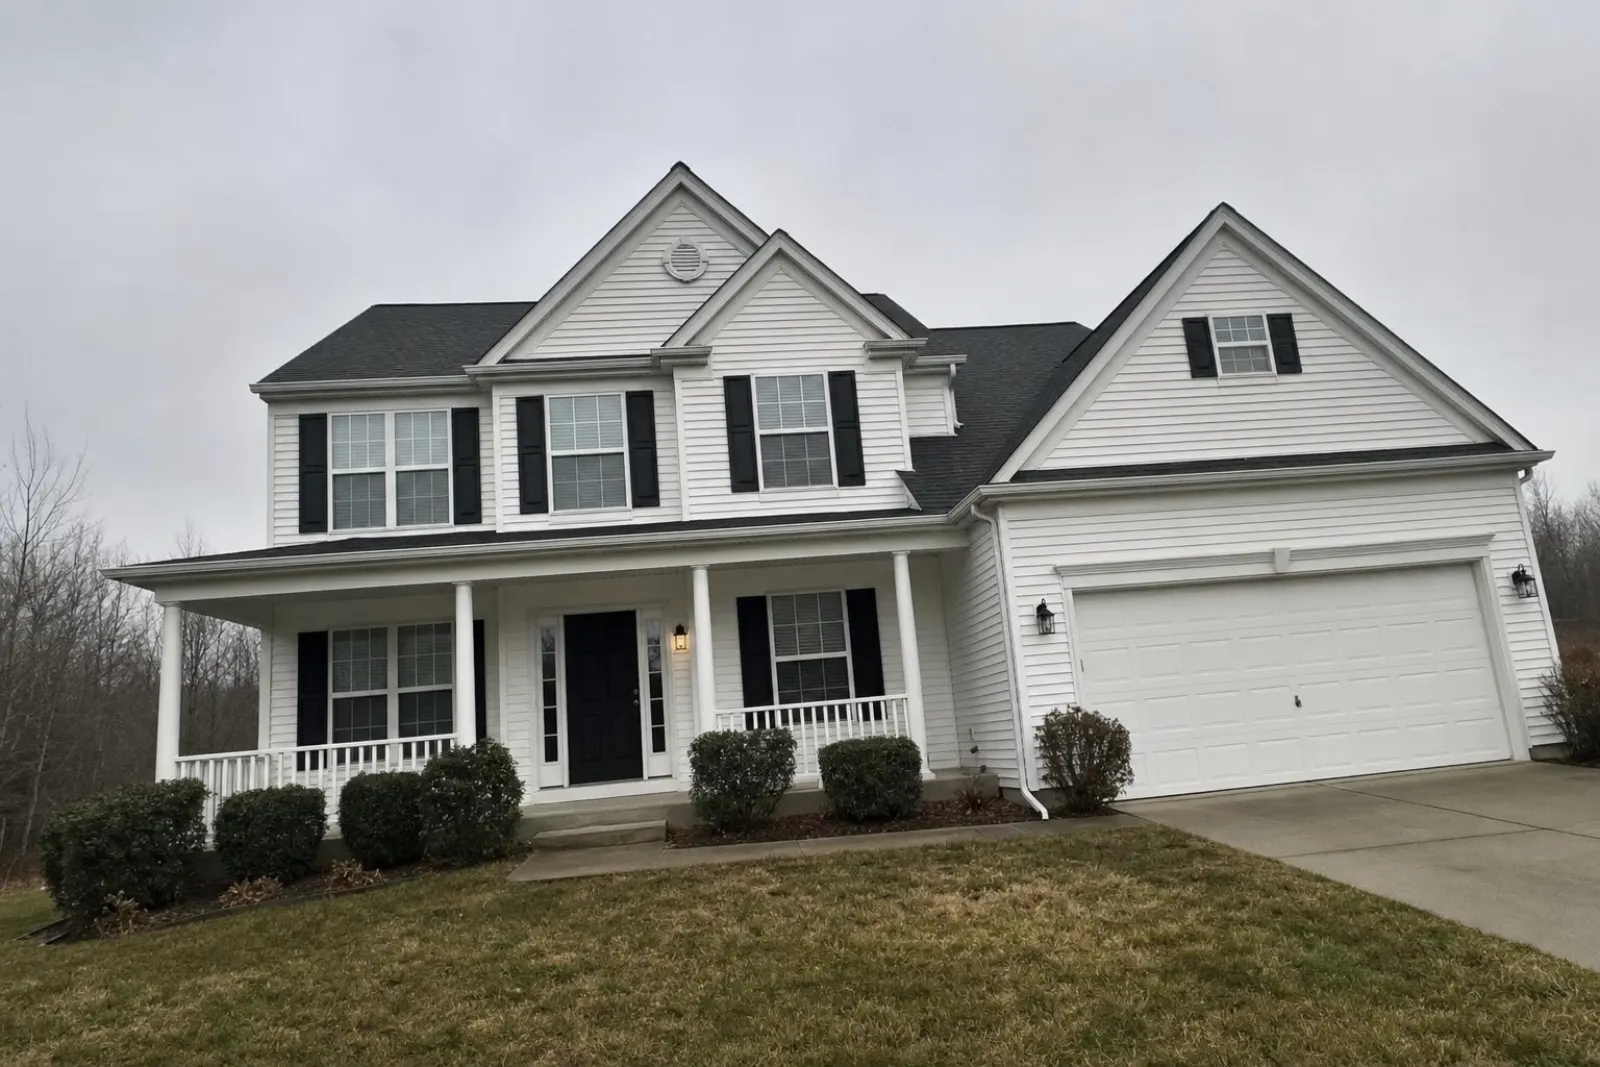
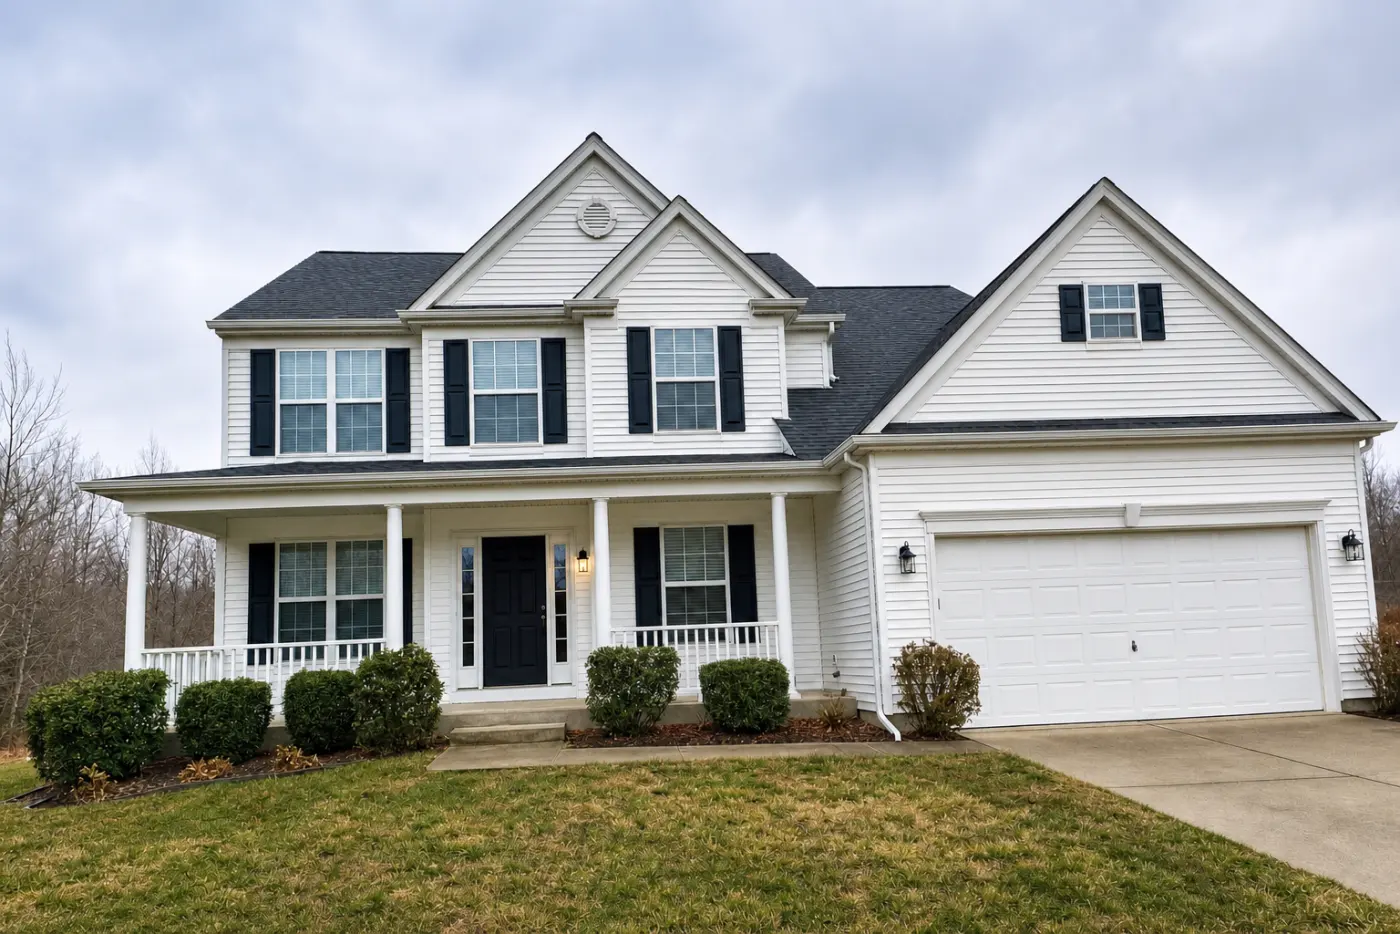
A grey-sky exterior won't win any awards. Nor will it make a buyer feel misled when they arrive in the rain. If you want a blue-sky version for social media or a leaflet, label it there too. Keep the original for the MLS. The rules are stricter for staged and decluttered photos; see virtual staging MLS rules and removing furniture from listing photos.
Before the shoot, use the shot list to plan the timing of room shots around the sun. That leaves fewer things to fix afterwards.
For details of how Enhance handles this in our app, see AI real estate photo editing.
Brighten your darkest room and bring back the view through the window. Start free: 1 credit.
Questions
Why do my property photos look dark?
The camera sets the exposure for the brightest thing in the frame, usually a window when shooting indoors. It darkens the whole shot to stop the window from turning pure white. The room ends up underexposed.
How do I stop windows from being blown out on my phone?
Shoot when direct sun isn't hitting the glass and turn on every light to narrow the gap between inside and outside. Then take a second shot with the exposure locked on the window so you can blend the two later.
Which Lightroom settings brighten a dark interior?
Start with Exposure +0.3 to +0.7, Highlights -60 to -100, Shadows +40 to +70, Whites +10 to +25 and Blacks -5 to -15. Then adjust the white balance so that white walls look white.
Can I replace a grey sky with a blue one in listing photos?
Only if you disclose it, and some rules treat it as an altered image. California's AB 723 exempts exposure and colour adjustments but treats changes to the garden or the view through a window as digital alterations.
Does brightening a photo count as altering it?
Generally, no. Lighting, exposure, white balance and colour correction are standard edits. California's AB 723 lists them as exempt, provided they don't change how the property is represented.