 Real Estate Camera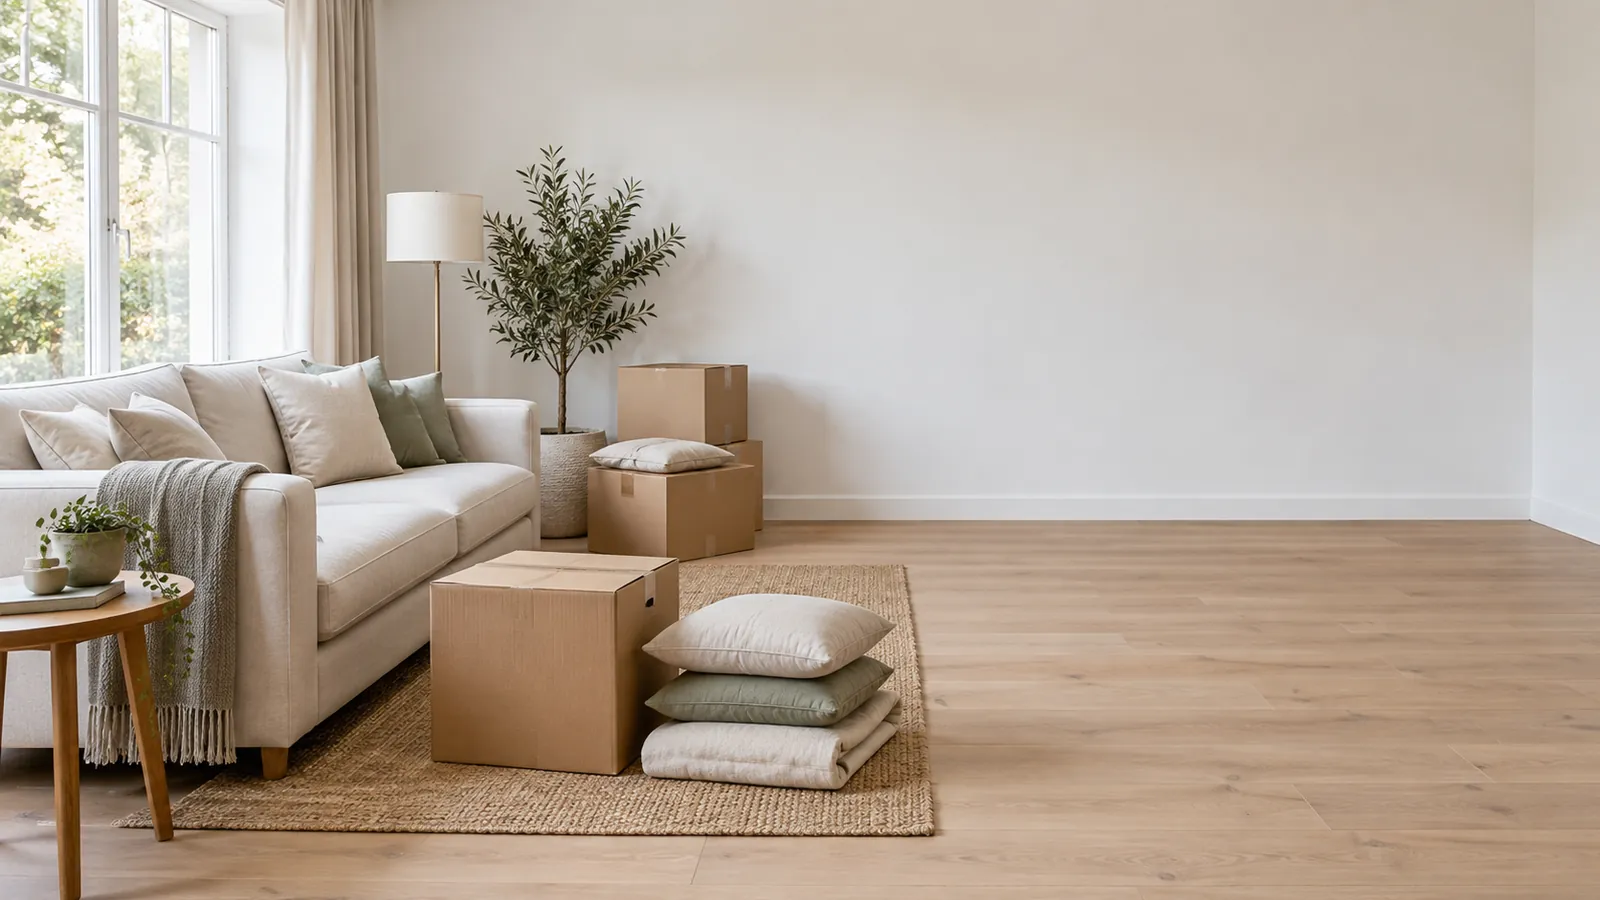
To remove furniture from a property photo, use an AI decluttering tool or Photoshop's Generative Fill. Both remove the furniture and rebuild the floor and walls behind it; Photoshop gives you more control over your selections. You can remove the seller's belongings. Damage and permanent fixtures must stay. In some places, including California, you must also label the edited photo and provide a link to the original.
Before you start editing, decide what should stay in the picture. These tools make predictable mistakes, and how you photograph the room affects whether the result looks clean first time.
Declutter or stage? Choose based on the room
Estate agents often confuse the two. Here is how I decide.
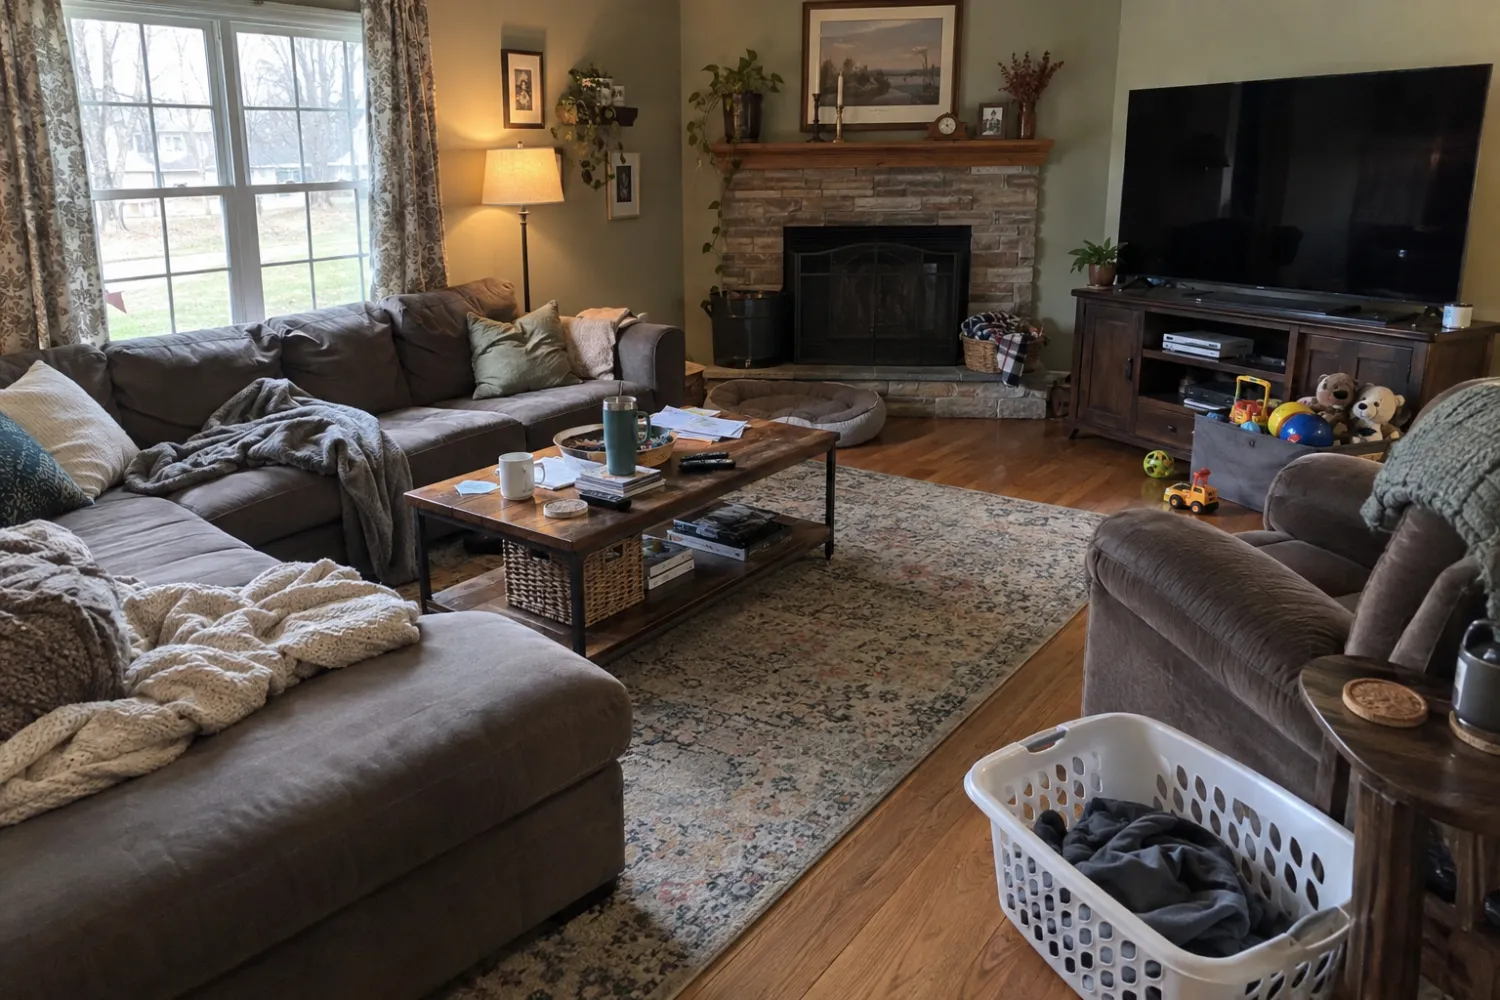
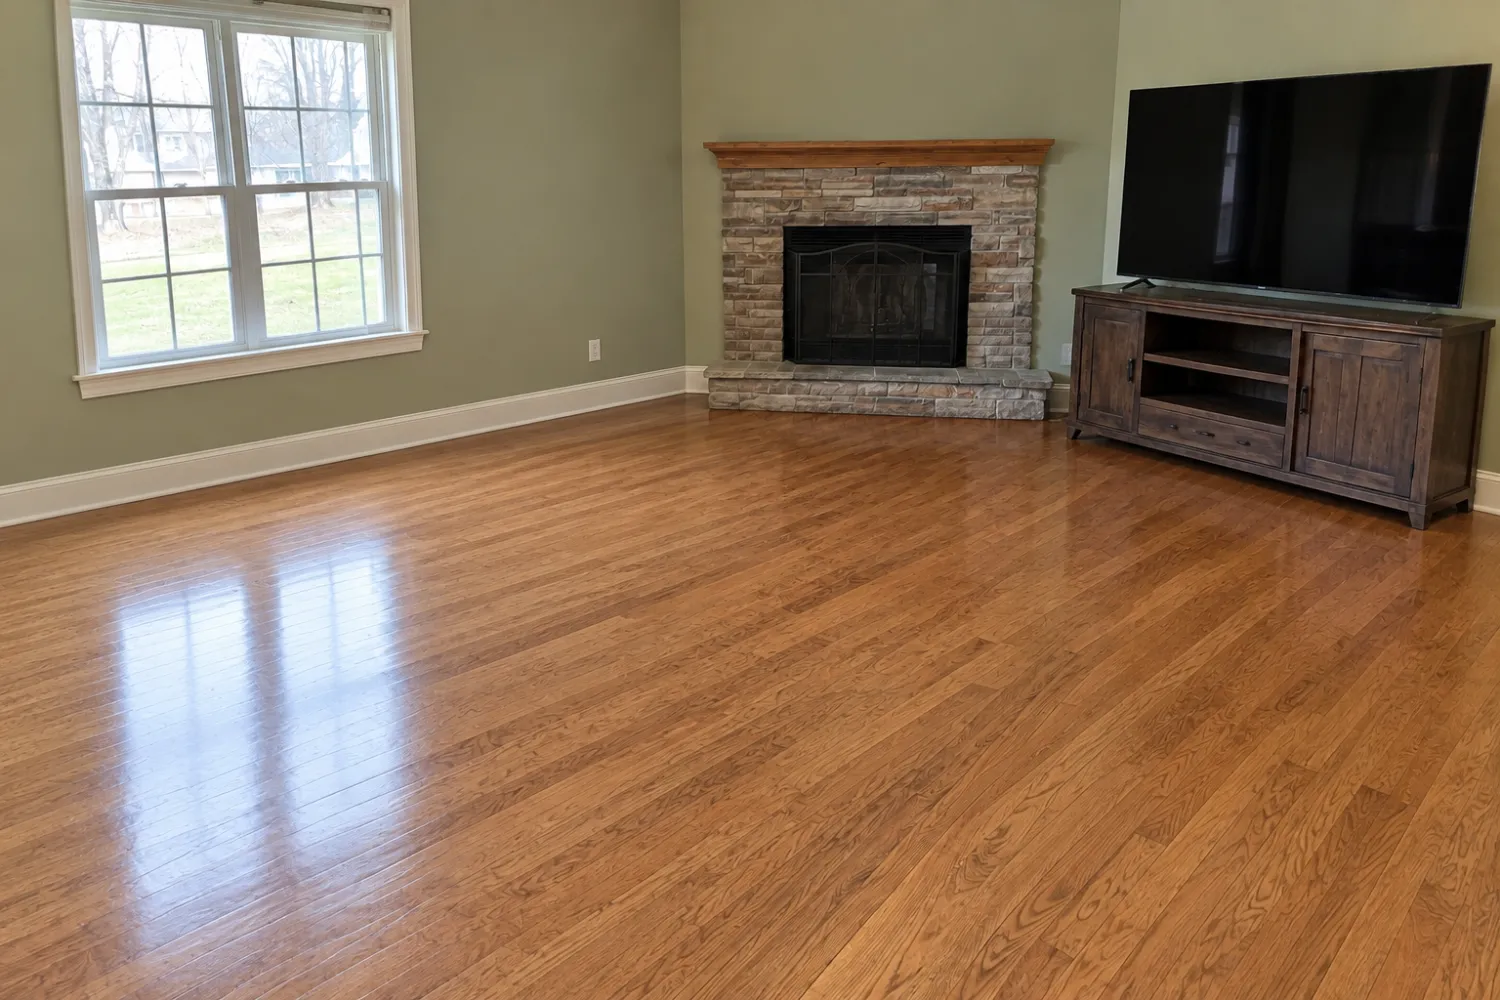
- When the room is full of furniture, declutter it. A corner sofa takes up half the floor. A child's toy corner or a home office stacked with boxes makes it difficult for buyers to judge the size of the room. Clearing the furniture shows the room for what it is.
- If the room is already empty and feels cold or makes it hard to judge its size, stage it. An empty living room with wood flooring and white walls looks smaller than it is because there is nothing to provide a sense of scale.
- Dated furniture in a room that needs to feel lived in calls for both approaches. Clear it first, then stage the clean result. Adding staging to a room with existing furniture usually looks wrong, because the AI has to work around a recliner that is still there.
Sometimes I would not do either. If the seller's furniture is decent and the room looks good, a straight photo with the lights on beats any edit.
Every edit gives buyers another reason to feel misled during the viewing.
What you can remove, and what has to stay
The rule holds true everywhere I've looked: belongings can go, but the property cannot change.
NorthstarMLS spells it out in its proposed guidelines for AI-edited listing photos (July 2026). Virtual staging may "add or remove personal property such as furniture and décor". Edits that "change or hide permanent or structural elements" are prohibited. The list of permanent elements includes walls, floor coverings, doors, windows, ceilings and fireplaces.
Here's what this means in a photo:
| Fine to remove | Leave it in |
|---|---|
| Sofas, beds, tables, chairs | Built-in shelving, window seats, kitchen islands |
| Rugs laid directly on the floor | Carpet, even if it's ugly |
| Family photos, toys, laundry, pet bowls | Water stains, cracks, missing woodwork |
| Freestanding lamps | Ceiling fans, light fittings, radiators, vents |
| A car in the driveway, rubbish bins | Power lines, the neighbour's house, the view |
The last row catches people out. A rubbish bin is part of the seller's belongings. The utility pole across the street is part of what the buyer is buying, whether they like it or not.
Look under the rugs. Removing a rug from a hardwood floor is fine if the boards underneath are in the same condition as the rest. But if the rug hides a stain or a gouge, AI will paint clean boards over the damage. You've edited out a defect without meaning to. Check before you erase.
Disclosure: when an empty room still needs a label
Many of the guides ranking for this topic say that removing items is acceptable and that only staging needs a label. That advice does not apply everywhere.
California's AB 723 defines a "digitally altered image" as an image changed using editing software or AI "to add, remove, or change elements". Furniture is included in its list. If you advertise an altered image, you must include a statement on or next to it saying so, along with a link or QR code to the original. The legislation was enacted in October 2025. Basic lighting, colour, exposure, straightening and cropping adjustments do not count as alterations under the same section.
Outside California, check the rules of your MLS. The NorthstarMLS proposal calls for a disclosure in the caption or on the photo itself for every staged or AI-edited image, together with an unaltered "before" shot of the same room. NAR's Standard of Practice 12-10 also prohibits REALTORS® from misleading consumers, "including use of misleading images". This applies in every market.
Keep every original and label every photo you've removed items from. Where your MLS permits it, upload the "before" shot alongside the edited image. For individual board requirements, see our guide to MLS rules for virtual staging.
What AI removal does well, and where it breaks
AI declutter handles the easy cases well: a sofa against a plain wall with wooden flooring or carpet, a bed in a bedroom, or a dining set on a tiled floor. It recreates skirting boards and extends the flooring pattern while preserving the wall colour. In a clean, evenly lit room, the result usually holds up at full size.
Here are the problems I come across:
- The sofa is gone, but ghost shadows leave a soft, dark patch where it was. Lamps leave similar marks on walls. Zoom in on the floor line before accepting the result.
- Look for floor seams that don't line up. Wooden floorboards and tile grout must continue in perspective; otherwise, the repaired patch looks pasted on. Large, patterned rugs make this worse, as there is more floor to invent.
- Check the reflections too. The sofa may have gone from the room but still appear in the mirror, the glossy floor or the TV screen. Some tools catch these. Many don't.
- Watch out for fixtures that get erased when you ask for "remove everything". A ceiling fan, a pendant light, a floor vent or a built-in bench can disappear along with the furniture. This is the mistake that can cause you trouble. They are part of the house.
- A partly obscured feature can turn into invented architecture. A doorway behind a bookcase may come back as a plain wall, or a wall may come back with a window that isn't there. Check what the tool has filled in wherever the original view was obscured.
These mistakes don't mean that the tool is bad. They mean you need to check every result at full size before it goes on the MLS (in your market: Rightmove or Zoopla), just as you'd check a photographer's edits.
Doing it by hand: Photoshop and your phone
Photoshop Generative Fill
For one hero shot you want perfect, Generative Fill in Photoshop gives you the most control. Select the furniture with the Selection Brush or Lasso. Leave the prompt blank so Photoshop fills the space using the surrounding pixels, then choose the best variation. The edit sits on its own layer, so you can mask back any part it got wrong without changing the original.
Two tips from doing this regularly. Select a little beyond the furniture to include its shadow, or the shadow will remain. Work on larger items separately: the sofa, then the coffee table, then the rug. Smaller fills keep the floor pattern straighter than one huge selection.
It takes time. A full room with a corner sofa, a rug and a TV stand can take a while to get right, especially if the floor has a pattern.
Removing objects on your phone
Apple's Clean Up (on iPhones that support Apple Intelligence) and Google Photos' Magic Eraser are free and already on your phone. They're ideal for removing a dog bed, a bin, a cable across the floor or a toothbrush from the washbasin.
Larger objects are harder. These tools were designed to remove a stranger from a holiday photo, not to reconstruct eight feet of hardwood flooring and skirting boards with the right perspective. Try one on a sofa and you'll usually end up with a smeared floor.
Apps designed for property listings
Declutter tools designed for property listings, including ours, can clear an entire room in one go and rebuild the floor and walls to match the room's perspective. In Real Estate Camera, Declutter costs 2 credits and takes 20 to 60 seconds. If an edit fails, the credits are automatically refunded. To compare options, see the staging and declutter apps we tested or this breakdown of per-photo costs.
For smaller jobs, such as tidying worktops and removing cables and toiletries rather than a corner sofa, our guide to decluttering listing photos without Photoshop includes a room-by-room checklist of what to clear before you shoot.
How to photograph a room for effective object removal
Many poor results start with a poor source photo. Give the tool a better one:
- Keep the phone at chest height and level, around 4 to 5 feet off the floor, and hold it vertically. Tilting it makes the floor recede at an odd angle. Every floorboard the AI recreates inherits that angle. See fixing vertical lines if yours already lean.
- For even lighting, turn on every light and open the blinds. Deep shadows under furniture are exactly what AI leaves behind, so fewer shadows mean less cleaning up. Our guide to dark photos covers this in detail.
- Step back into a corner to show more floor. Use the 0.5x lens if the room is small. The more of the real floor and skirting the tool can see, the better it can extend them.
- Before taking the photo, move the small items for real. Clearing a coffee table by hand takes a minute. Asking AI to erase twelve small objects is where most of the smudges come from.
- If possible, pull the rug back. A proper look at the floor underneath is better than a guess.
- Keep a straight "before" shot from the same angle. You will need it for disclosure purposes anyway. It is also your evidence if a buyer asks what was there.
For a full set of listing photos, the shot list tells you which angles to capture in each room. The iPhone settings guide covers the camera settings.
A quick check before you publish
Compare the before and after images side by side. Check that every permanent fixture is still there. Look for any shadows or reflections left behind, or seams that give the edit away. Then consider the viewing: would a buyer recognise the room from the photo, without the seller's belongings? If you would feel uncomfortable letting them see both versions, do not publish the edit.
To find out how Declutter works in our app, see removing furniture from listing photos.
Clear one furnished room and compare the result with the original. Start free: 1 credit.
Questions
Is it legal to remove furniture from property photos?
Removing the seller's belongings is generally accepted, but some regulations still treat this as an altered image. California's AB 723 treats an image with furniture removed as digitally altered, so you must disclose the edit alongside the photo and provide a link to the unedited original.
Can I remove things like a stained carpet or a cracked tile?
No. Editing out damage or permanent features misrepresents the property. Remove belongings, not defects.
What do AI tools most often get wrong when removing furniture?
Leftover shadows where the furniture stood, rugs that disappear and leave an ugly patch on the floor, reflections in mirrors and on glossy floors, and fixtures it removes that should have stayed, such as a ceiling fan or a built-in bench.
Should I declutter a photo or virtually stage it?
Declutter when the room is furnished and the furniture is dated or the space feels cramped. Stage when the room is already empty and looks cold. You can do both: clear the room, then stage the clean result.
Can I remove furniture on my phone for free?
Yes, for small objects. Apple's Clean Up and Google's Magic Eraser handle a lamp or a toy well, but they struggle with a sofa or a whole room because they have to rebuild much of the flooring and walls.
How do I declutter listing photos without Photoshop?
Clear away what you can before taking the photos, as a genuinely clean room needs no label. Use your phone's built-in eraser, such as Clean Up on supported iPhones, to remove a stray cable or bottle. For a whole room, use a listing decluttering app or an editing service, and label the edited photo.