 Real Estate Camera
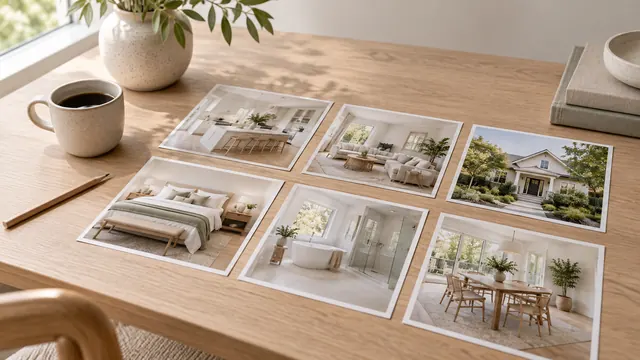
A property photo shot list should cover the front exterior, every main living space from two angles, each bedroom and bathroom from its best corner, the garden, and a few details that sell the property. For a typical three-bedroom home, that's roughly 25 to 35 photos. Upload them in the order a buyer would walk through the property.
This is the room-by-room list I use, followed by the MLS gallery order and the preparation checklist I send to sellers two days before the shoot.
How many photos to take
Start here, then adjust:
- Main rooms (living room, family room, kitchen, main bedroom): 2 each, from opposite corners.
- Secondary rooms (other bedrooms, dining room, office): 1 each.
- Full bathrooms: 1 each, 2 for the main bathroom if it has been updated.
- Exteriors: 2 to 4 of the front exterior, 2 or 3 of the rear exterior.
- Details and features: 3 to 5.
Take more photos than you will upload. It costs nothing on the day and saves a return trip. Then be ruthless when you edit. Four almost identical shots of the same bedroom make buyers scroll past the best ones.
Each MLS board sets its own photo limit. Check yours once and note it down.
The shot list, room by room
Front exterior
- Straight-on view of the front, with the whole house in frame, from across the road or the end of the drive.
- Front viewed at a 45-degree angle, showing one side of the house and some depth.
- The opposite 45-degree angle if the house looks good from both sides.
- A closer shot of the entrance or porch, if the door, porch or landscaping is worth showing.
Move cars off the drive and away from the road outside the house. Put the bins out of sight. Shoot when the sun is hitting the front of the house, not behind it.
Entrance
- From just inside the front door, looking into the house. Show buyers what they will see as they step inside.
- A detail shot of the staircase or hallway, but only if it is architecturally interesting.
Living room and family room
- A wide shot from the corner opposite the main feature (fireplace, large window, built-in cupboards).
- A wide shot from the opposite corner, showing how the room connects to the kitchen or dining area.
In an open-plan layout, buyers look for a single shot showing how the spaces connect: living room in the foreground, kitchen behind.
Kitchen
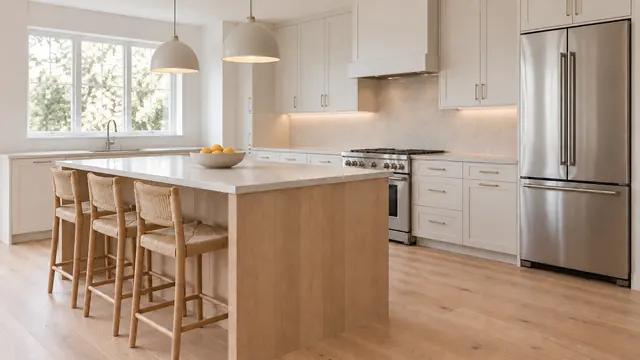
- A wide shot from the corner that shows the most units and the island together.
- A wide shot from the opposite side, often from behind the island looking towards the family room.
- One detail shot: the cooker and extractor hood, a splashback or a Belfast sink. Only the details that stand out.
Keep the worktops almost clear. One bowl of lemons or a chopping board is plenty.
Dining room
- One wide shot, with the table centred and the chairs tucked in evenly. Switch the chandelier on.
Main bedroom
- A wide shot from the corner by the doorway, with the bed as the focal point.
- A second angle towards the windows or the seating area, if the room has one.
- Walk-in wardrobe only if it is spacious or has been fully fitted out.
Make the bed neatly. Clear everything off the bedside tables except for a lamp.
Main bathroom
- A wide shot with the washbasin and shower or bath in the same frame, often from the doorway.
- A second shot of a freestanding bath or walk-in shower, if it is a standout feature.
Toilet lid down. Take all bottles off the surfaces and out of the shower. Check the mirror for any sign of your reflection, and shoot from an angle.
Other bedrooms
- One wide shot of each, from the corner that shows the window and the most floor space.
Other bathrooms
- One shot of each. Include the cloakroom only if it has been modernised or has an attractive washbasin.
Office, bonus room and basement
- One wide shot of each finished space. Leave out unfinished basements unless your target buyers care about storage or future potential.
Garden and outdoor space
- A wide shot from the back corner of the plot, looking towards the house.
- A wide shot from the back door, looking out over the garden.
- Patio, decking, swimming pool or outdoor kitchen: one shot of each.
- A view shot if there is a view worth capturing.
Extras worth one photo
- Utility room, if it is a proper room rather than a cupboard.
- Entrance hall or pantry, if it has been renovated.
- Garage, if it is unusually large, fully fitted out or likely to appeal to your target buyers (workshop, EV charger).
- Communal facilities for flats: swimming pool, gym, lobby.
The order of photos in your MLS gallery
Your first MLS photo is usually the search thumbnail, so it determines whether anyone clicks (in your market: Rightmove or Zoopla). Arrange the rest as a walk-through of the house.
- Best front exterior shot.
- Entrance hall.
- Living room, then family room.
- Kitchen, showing all angles.
- Dining room.
- Main bedroom, then the main bathroom, then the dressing area if you photographed it.
- Other bedrooms, then other bathrooms.
- Study, extra room, basement.
- Garden, patio, swimming pool.
- Extras and amenities.
There are two exceptions. If the exterior gives you little to work with, such as a hallway in a block of flats or a house hidden behind trees, lead with the best interior shot and place the exterior second. And if there is one thing buyers will pay extra for, such as a view of a lake or a new kitchen, put that second instead of leaving it in the middle of the gallery.
Group the photos from each room together. Moving from the kitchen to a bedroom and back again makes buyers lose track of the floor plan.
Seller preparation checklist
Send this two days before the shoot. A list is far more effective than just telling sellers to "tidy up a bit".
Whole property
- Replace dead light bulbs and, if possible, use the same colour of bulb in every room.
- Open all blinds and curtains.
- Switch off ceiling fans and TVs.
- Put away family photos, post, pet bowls and pet beds.
- Clear the floor of shoes, bags, toys and cables.
Kitchen
- Clear the worktops, leaving just one or two decorative items.
- Take everything off the fridge door, including the magnets.
- Hide the washing-up liquid and sponges. Move the rubbish bin to the garage for the day.
Bathrooms
- Clear the washbasin and shower completely.
- Hang one matching set of folded towels.
- Toilet lid down, bath mat removed.
Bedrooms
- Make the beds and plump up the pillows.
- Clear the bedside tables, leaving just a lamp.
- Close the wardrobe doors.
Outside
- Move cars off the drive and put the bins out of sight.
- Mow the lawn the day before.
- Coil the garden hoses. Remove children's toys from the lawn.
- Uncover the patio furniture and arrange it outside.
Empty rooms and too much furniture
Empty properties photograph as bare boxes, and buyers struggle to gauge their size. Real Estate Camera's virtual staging solves this without hiring a lorry-load of furniture. It costs 2 credits per room, with eight styles to choose from. Every staged file is labelled "virtually staged", so you meet the labelling requirement for disclosure.
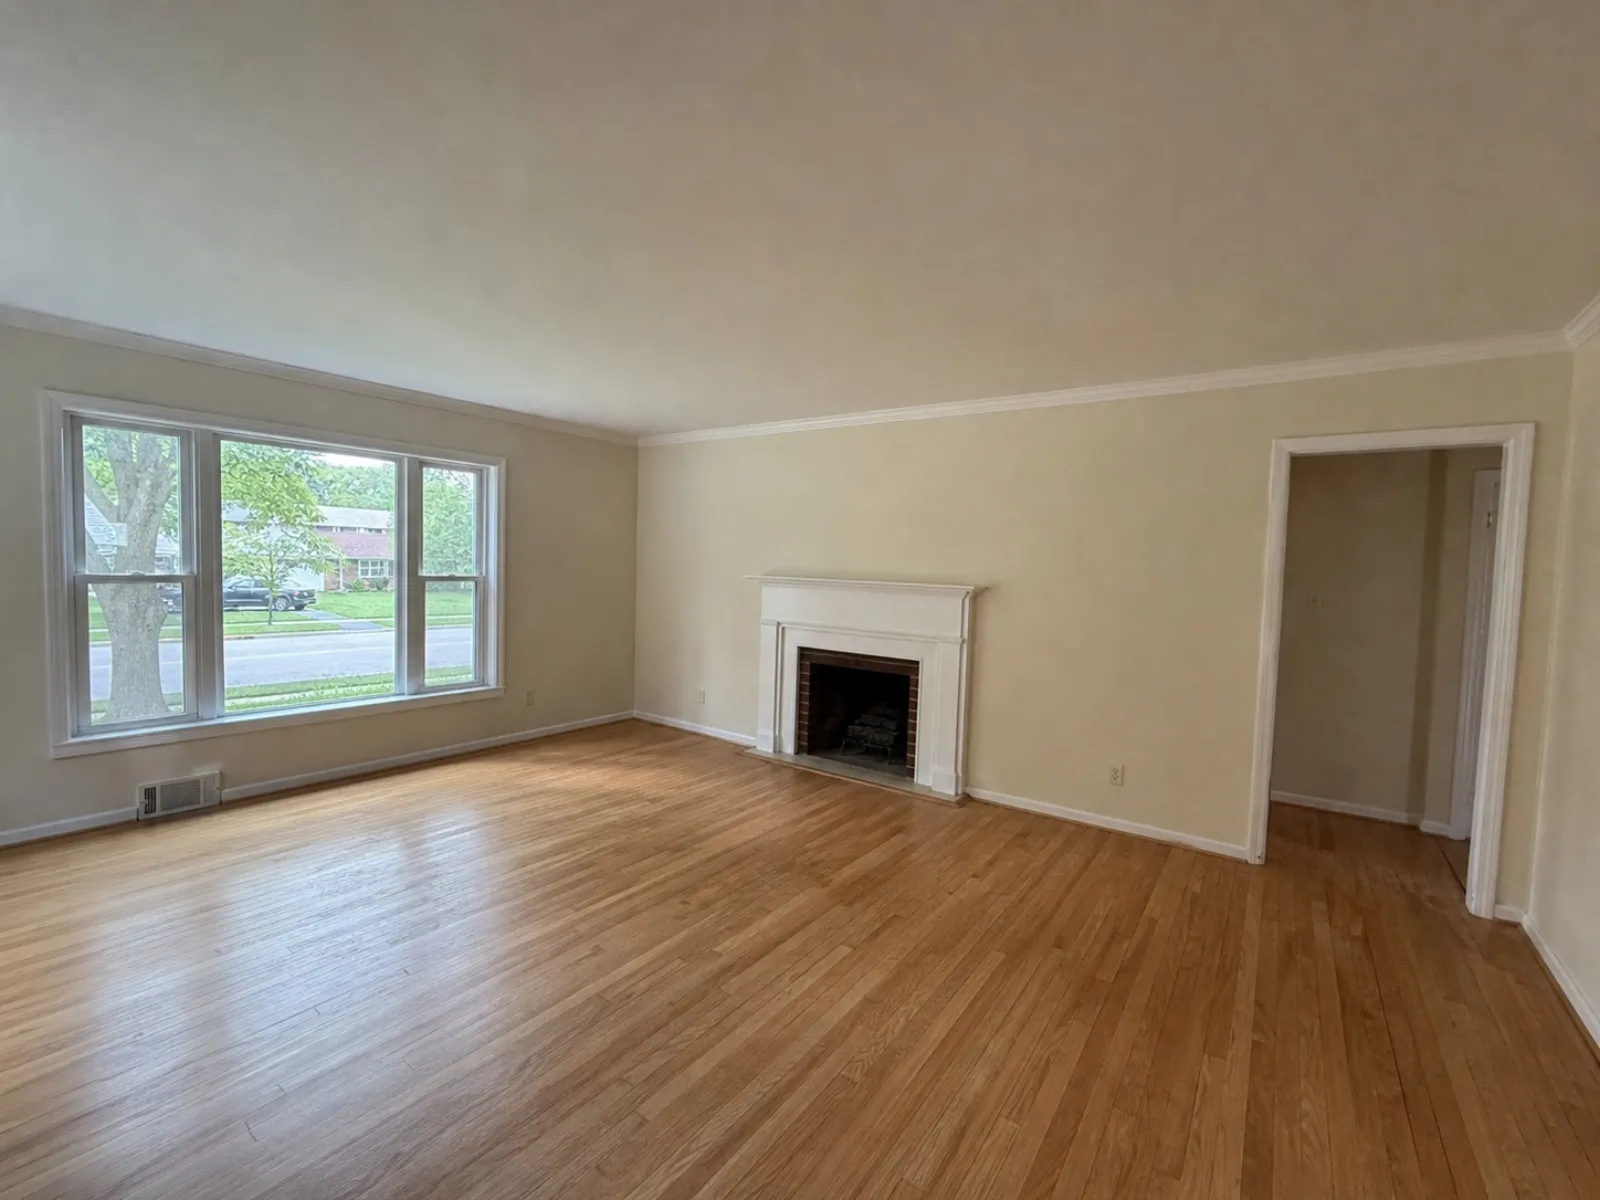
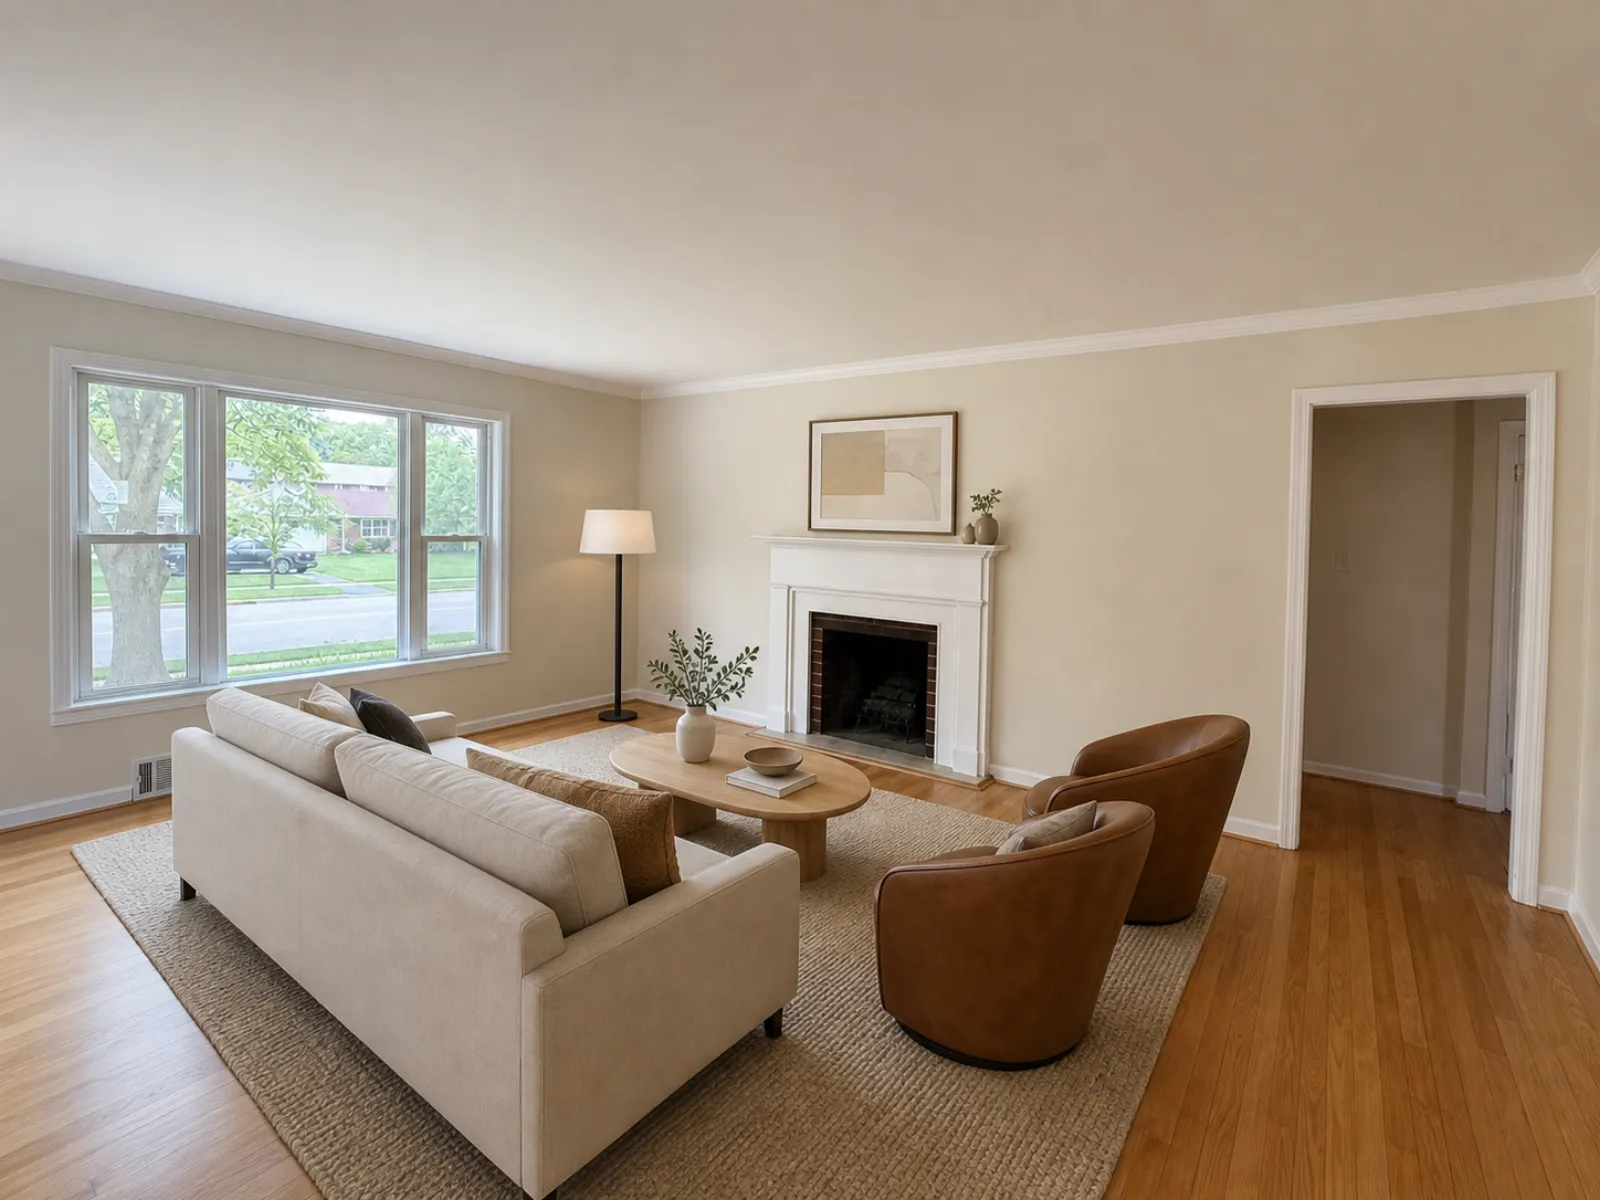
MLS boards have different labelling requirements, and some require you to post the empty photo alongside the staged version. Read virtual staging MLS rules before uploading. For service prices, see what virtual staging costs and the best virtual staging apps.
Then there's the room crammed with the seller's furniture. Removing furniture from photos covers when that is appropriate and how to do it.
After the shoot
Cull first. Delete blinks, duplicates and anything with a leaning wall you can't fix. Edit the keepers as a batch so the colours match from room to room. A warm kitchen beside a blue living room makes the property look like two different homes.
If you're shooting on a phone, taking real estate photos with an iPhone covers settings and angles. Our guide to fixing vertical lines covers the correction phone photos need most often. For rooms that came out too dark, see fixing dark real estate photos.
Real Estate Camera's Enhance costs 1 credit per photo, so a 30-photo gallery uses 30 credits. The 60-credit pack at $24.99 covers this, with enough credits left to stage two empty rooms. Unused credits don't expire.
To shoot and edit a property listing in one app, see the real estate photography app.
Work through the shot list, then edit each room as you go. Get started for free: 1 credit.
Questions
How many photos should a property listing have?
Start with two photos of each main room and one of each secondary room, plus a few exterior shots. For a typical three-bedroom home, that's roughly 25 to 35 photos. Check your MLS, as each board sets its own maximum.
What should the first listing photo be?
Usually the front exterior, shot straight on or from a slight angle with the whole house in shot. Use a stronger interior shot only when the front offers little to work with, such as a flat entrance or a property hidden by trees.
What order should listing photos go in?
Follow the route a buyer would take: front exterior, entrance, living areas, kitchen, dining room, main bedroom suite, other bedrooms, bathrooms, then the garden and outside space. This order on the MLS helps buyers build a floor plan in their minds as they scroll.
Should I photograph every bathroom and cupboard?
Take one photo of every full bathroom, plus the cloakroom if it has been updated. Skip ordinary cupboards, laundry areas and utility rooms unless they are a selling point, such as a walk-in wardrobe or a renovated utility room.
Can I use Virtual staging in the listing photos?
Usually, as long as the photo is clearly labelled and you also show the empty room or make the staging clear. Rules vary by MLS, so check yours first.