 Real Estate Camera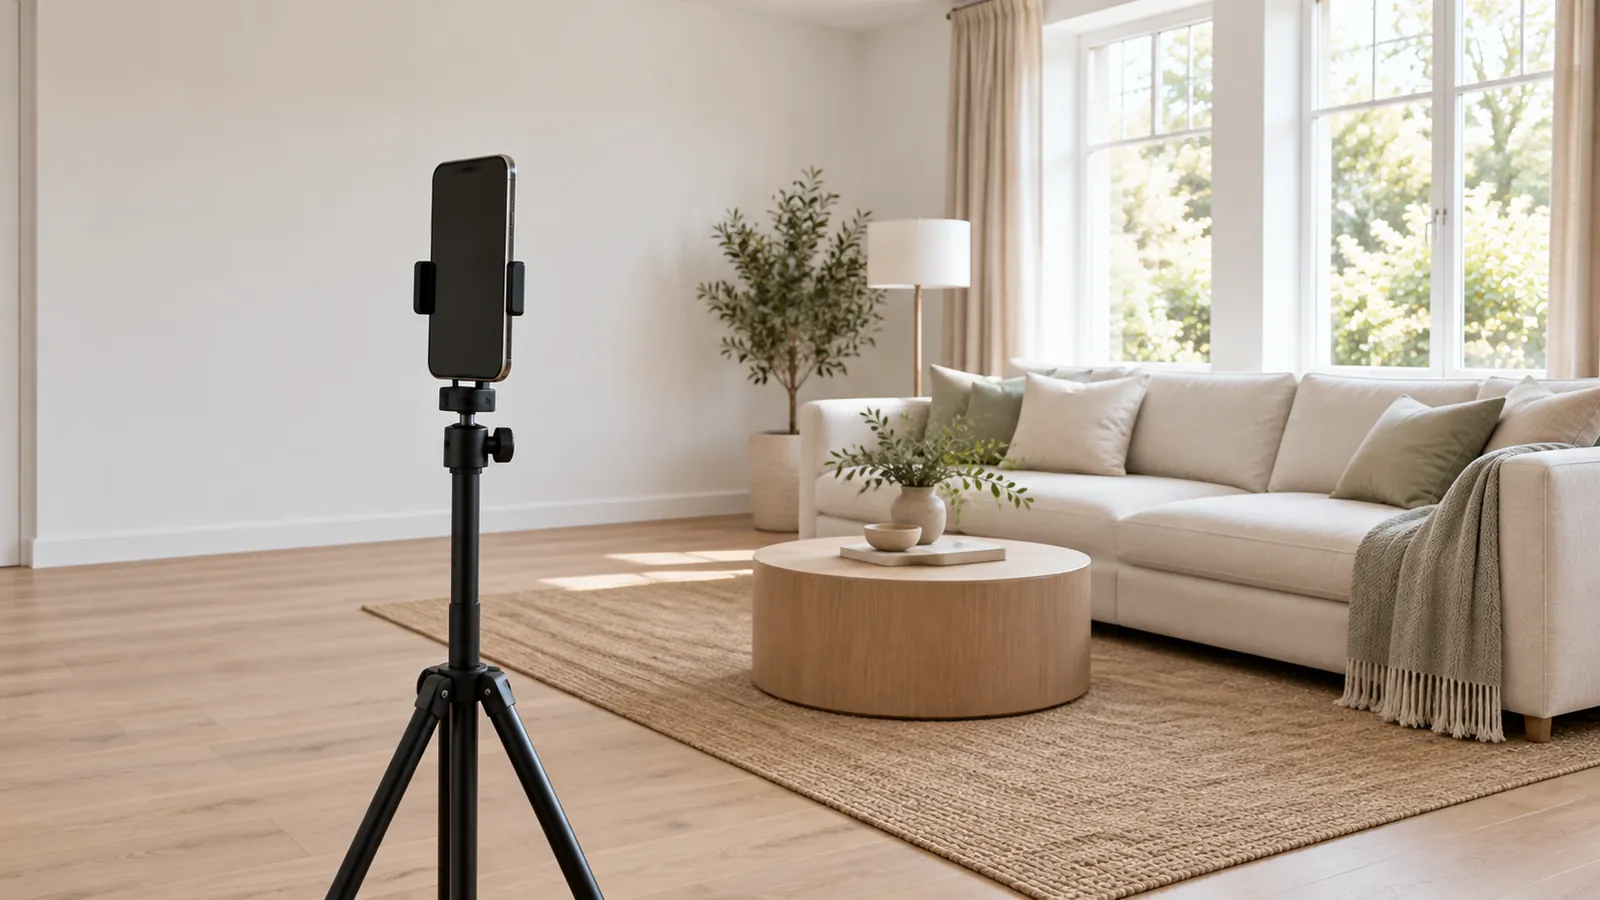
For great real estate photos with an iPhone, turn on Grid and Level. Shoot horizontally with the 0.5x lens from a corner, holding the phone at about light-switch height. Keep it level so the walls stay straight. Turn on every light and open every blind, then tap a wall to set the exposure rather than the window. Most of the difference between listing photos taken on a phone and a hired photographer's work comes down to those habits.
Here are the exact settings, where to stand and the mistakes buyers notice before they even see the price.
Are iPhone photos good enough for a property listing?
For a unit, an entry-level home, a rental or an FSBO listing in good light, yes, if you follow the tips on this page. Sellers do notice. A Reddit thread titled "Agent turned up with an iPhone to take photos of the home" drew more than 170 comments. What those sellers are reacting to is usually the result, not the phone: walls that don't look straight, dark rooms and blown-out windows. For a luxury home, or a listing that needs drone shots, twilight shots or video, hire a photographer. DIY or professional covers where the line falls.
Set up the camera before you arrive at the property
Set up your iPhone once, then leave the settings alone.
- In iPhone Settings, open Camera and turn on Grid and Level. Apple's guide shows how to turn on both with the same switch. The level draws a line across the middle of the frame to show whether the phone is tilted left or right. Check the level before every shot.
- Keep Lens Correction on. Find it in Settings, under Camera. It's on by default, and Apple says it corrects distortion in Ultra Wide photos for more natural results. Turn it back on if someone has switched it off. You'll use the 0.5x lens for most rooms.
- Leave HDR set to automatic. By default, the iPhone blends several exposures when a scene contains bright and dark areas. A living room with a picture window fits that description. Leave it alone.
- Before the first shot, clean the lens. A thumbprint on the 0.5x lens leaves a soft haze over every window. Wipe the lens on your shirt, then clean it again after the phone has been in your pocket.
Newer Pro models can capture 48 MP images if you turn on Resolution Control under Settings, Camera, Formats. The files are sharper but much larger, and an MLS will compress them anyway. I leave it off for listing work.
Where to stand and how to hold the phone
Shoot from a corner, not the doorway
Walk into the room and put your back in the corner opposite the most interesting wall. From there, the 0.5x lens captures two full walls, giving the room depth. A doorway usually leaves you with one flat wall and the side of a door frame.
Take one photo from that corner, then another from the opposite corner if the room is big enough to make it worthwhile. A small bedroom needs just one.
Hold it at light-switch height
Eye level is too high. From 5 feet up, you either point the iPhone down at the floor, making the room look smaller, or tilt it up to fit in the furniture and make the walls lean. Lower it to light-switch height, roughly chest height for most people. Bend your knees. For the first few rooms, it feels wrong. Then it doesn't.
In kitchens, hold the iPhone a little higher so the countertops look like surfaces rather than edges. In bathrooms, you may end up standing in the tub or doorway. Work with the space you've got, but keep the phone level.
Keep the phone level, always
Keeping the iPhone level matters more than anything else on this page. Tilt it down and the walls lean in at the bottom. Tilt it up and they fall outward at the top. Buyers may not be able to identify the problem, but they can feel it. Keep the phone straight in both directions: use the level line for left to right, then line up a door frame or wall corner with a vertical grid line for front to back. If those two lines run parallel, the photo is square.
If the room won't fit within the 0.5x frame, back up or change corners. Don't tilt the phone. For more information, see how to fix leaning vertical lines.
Horizontal only
Turn the iPhone sideways for every shot. Listing sites use a horizontal frame, so a vertical photo gets grey bars on both sides.
What the 0.5x lens does well and where it falls short
The ultra-wide lens is the reason a phone works for this job at all. It's also where most listings shot on a phone go wrong.
With 0.5x, the bed, window and wardrobe door all fit into a single frame in an 11 by 12 foot bedroom. No other lens on the phone manages that.
Where it falls short:
- It stretches anything near the edge of the frame. A chair looks wider than it is; a round table ends up looking oval. Keep the important furniture towards the middle.
- It exaggerates depth, making a small room look noticeably bigger. That seems like a win until a buyer walks in and feels misled. Don't squeeze yourself into a built-in wardrobe to fit one more foot of flooring into the shot.
- It's softer than the main lens in the corners and in low light. Give it as much light as you can.
Switch to 1x for close-ups such as a rangehood or tiled splashback. The main lens is sharper and produces much less distortion.
Lighting: the part people overlook
Turn on every light, open every blind
Turn on every lamp and overhead light, including under-cabinet strips. Open the blinds fully and, if you can, tilt the slats so they’re out of the shot. A dark corner makes a room look small and gloomy in a listing photo.
Mixing warm yellow bulbs with cool daylight can leave clashing colours on the walls. I keep the lights on anyway. A slight warm cast is easy to correct later; a room lit by just one window is harder to rescue. If your shots are dark, here’s how to fix dark property photos.
Set exposure on the wall, then lock it
Point your iPhone at a room with a bright window and it will expose for the window, leaving the interior dark. Instead, tap a wall or the floor, then drag up or down beside the focus square to brighten or darken the shot. To keep that setting, touch and hold until AE/AF Lock appears. This locks focus and exposure for subsequent shots. Tap anywhere to release it.
You’ll lose some detail in the window in a single iPhone shot. That’s normal. The room should look like the room.
Time of day
For the front exterior, shoot when the sun is on the façade: in the morning for east-facing homes and in the afternoon for west-facing ones. With the sun behind the house, the front becomes a dark shape against a bright sky.
Indoors, you’ll get your easiest lighting on a bright, overcast day. On a clear day, avoid the hour when sunlight throws hard-edged rectangles across the floor. Those patches blow out and draw the eye away from the room.
Hold still
In dim rooms, the shutter stays open for longer. Brace your elbows against your body or lean against a door frame. Breathe out before you tap the screen. A small phone tripod with a Bluetooth remote fixes camera shake and makes it much easier to keep your phone at the same height in every room.
Common mistakes that give away a phone photo shoot
- The number one giveaway is walls that appear to lean. Keep the phone level.
- Avoid shooting from eye height. Holding the phone at 5 feet captures too much ceiling or floor and not enough of the room.
- Check for a toilet seat left up or crumpled towels. Put the seat down. Fold each towel once and hang it neatly.
- Check the shot for your reflection. Look in mirrors, microwaves, oven doors and glass shower screens. Shoot at an angle to reflective surfaces so you aren't reflected in them.
- Switch off ceiling fans. Spinning blades create motion blur.
- Don't leave counters covered. Remove soap and sponges, fridge magnets, the toaster and the knife block. Clear away anything that isn't a decorative item.
- Avoid pinch zoom. Switching between the lens settings with a pinch digitally crops the image and loses detail. Tap 0.5x or 1x and move closer instead.
- Watch for vertical photos. They're still common in MLS listings shot by agents. Keep the phone horizontal.
Use our real estate photo shot list to decide which rooms to shoot and in what order.
Where editing fits
Even a carefully taken iPhone photo usually needs a little editing. Light bulbs leave a yellow cast. A window is blown out, or a wall may appear to lean by a degree or two. You can fix all of that manually in Lightroom or the iPhone Photos app. Once you know what you're doing, it takes a few minutes per photo, which adds up across a 30-photo listing.
Real Estate Camera handles that for you. Shoot in the app or upload photos you've already taken. Enhance corrects lighting and colour, then straightens verticals, taking 20 to 60 seconds and using 1 credit. It won't declutter the room or reposition walls. And it won't replace a grey sky with a blue one, so the photo still shows the house as buyers will see it.
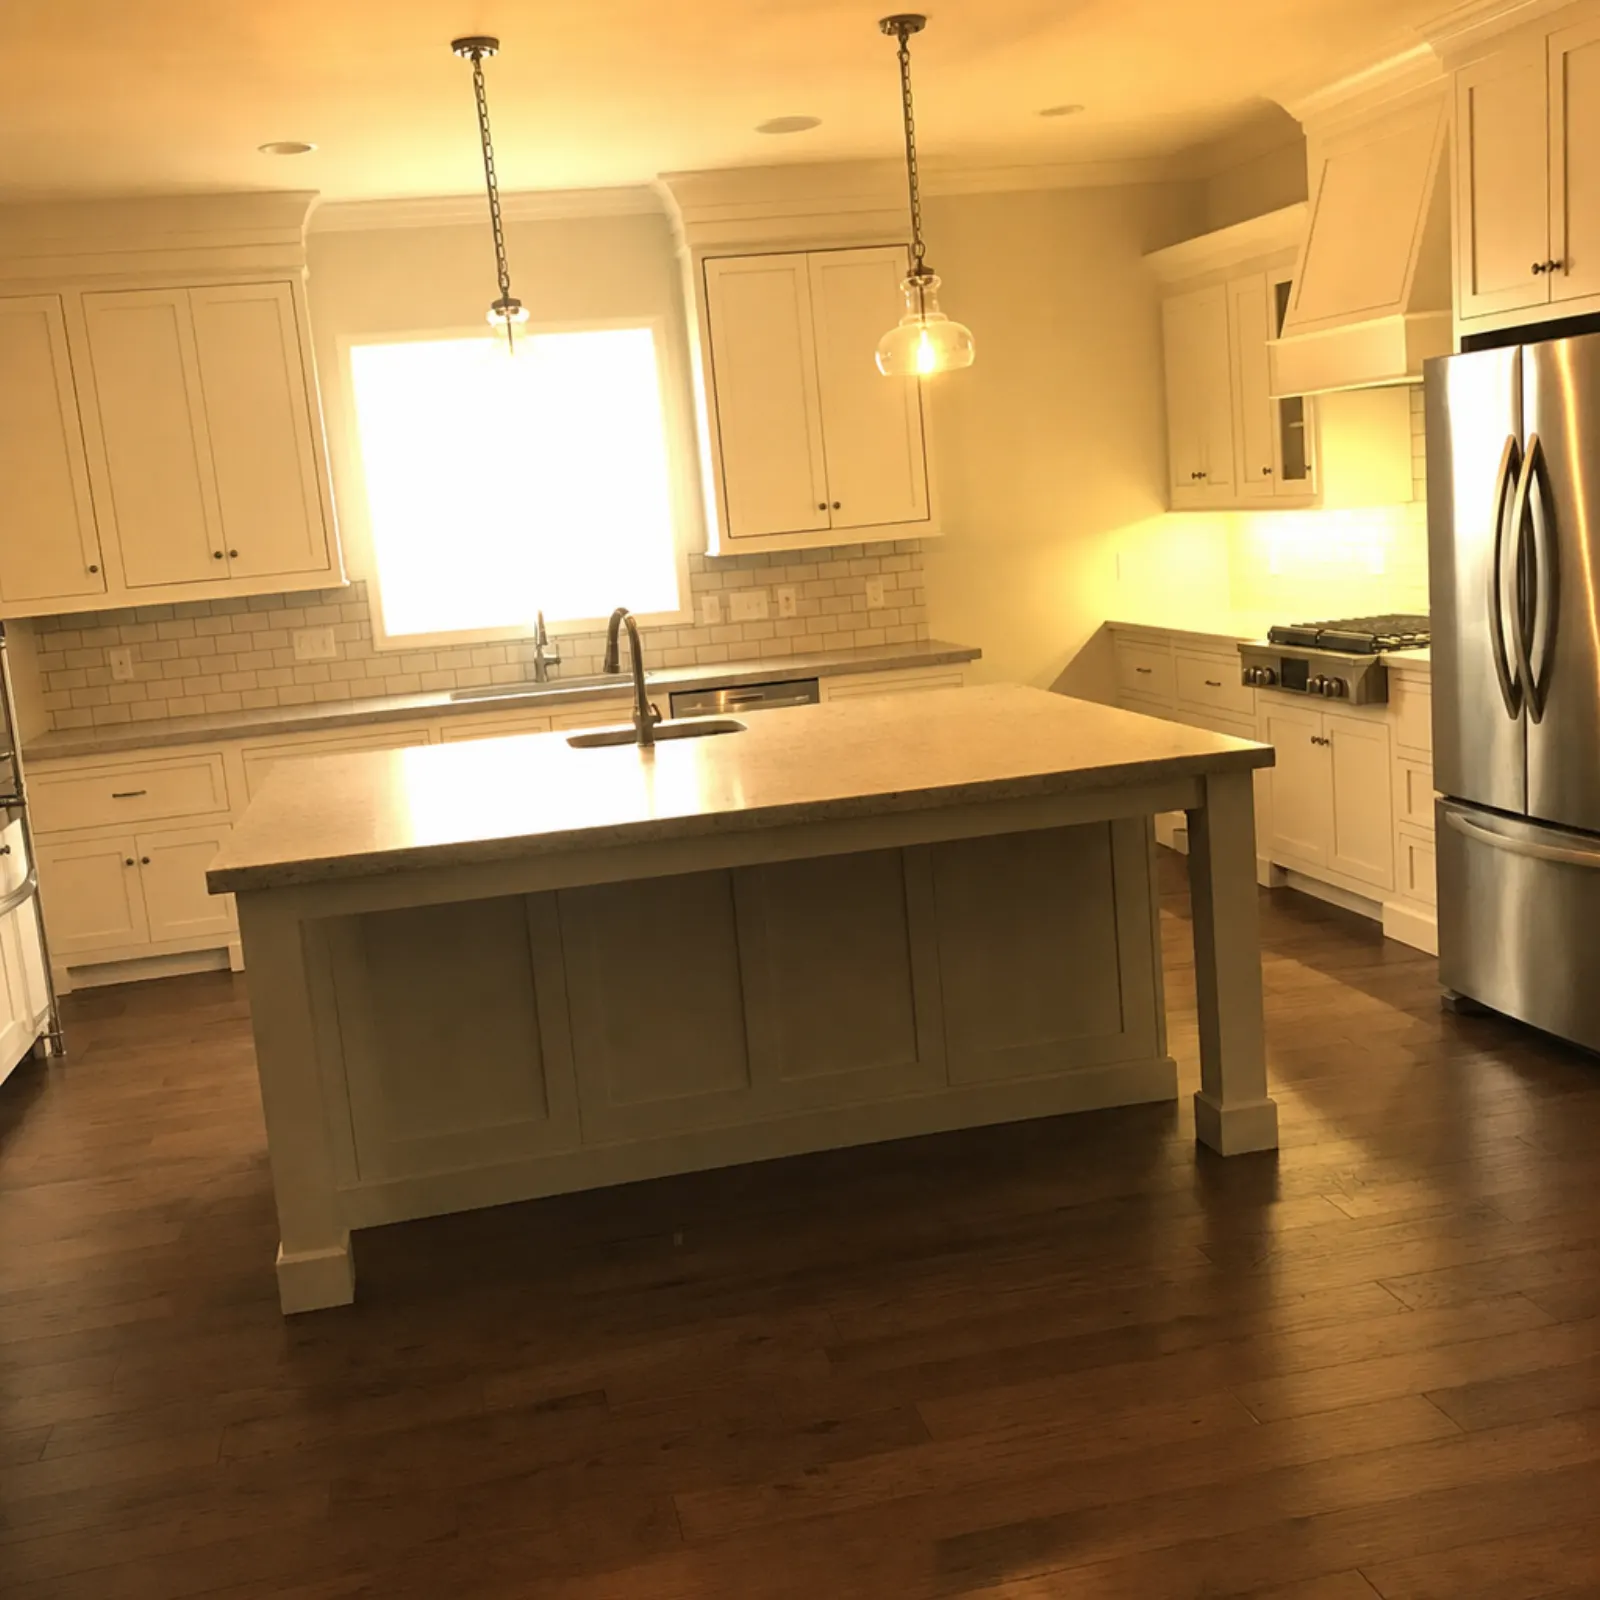
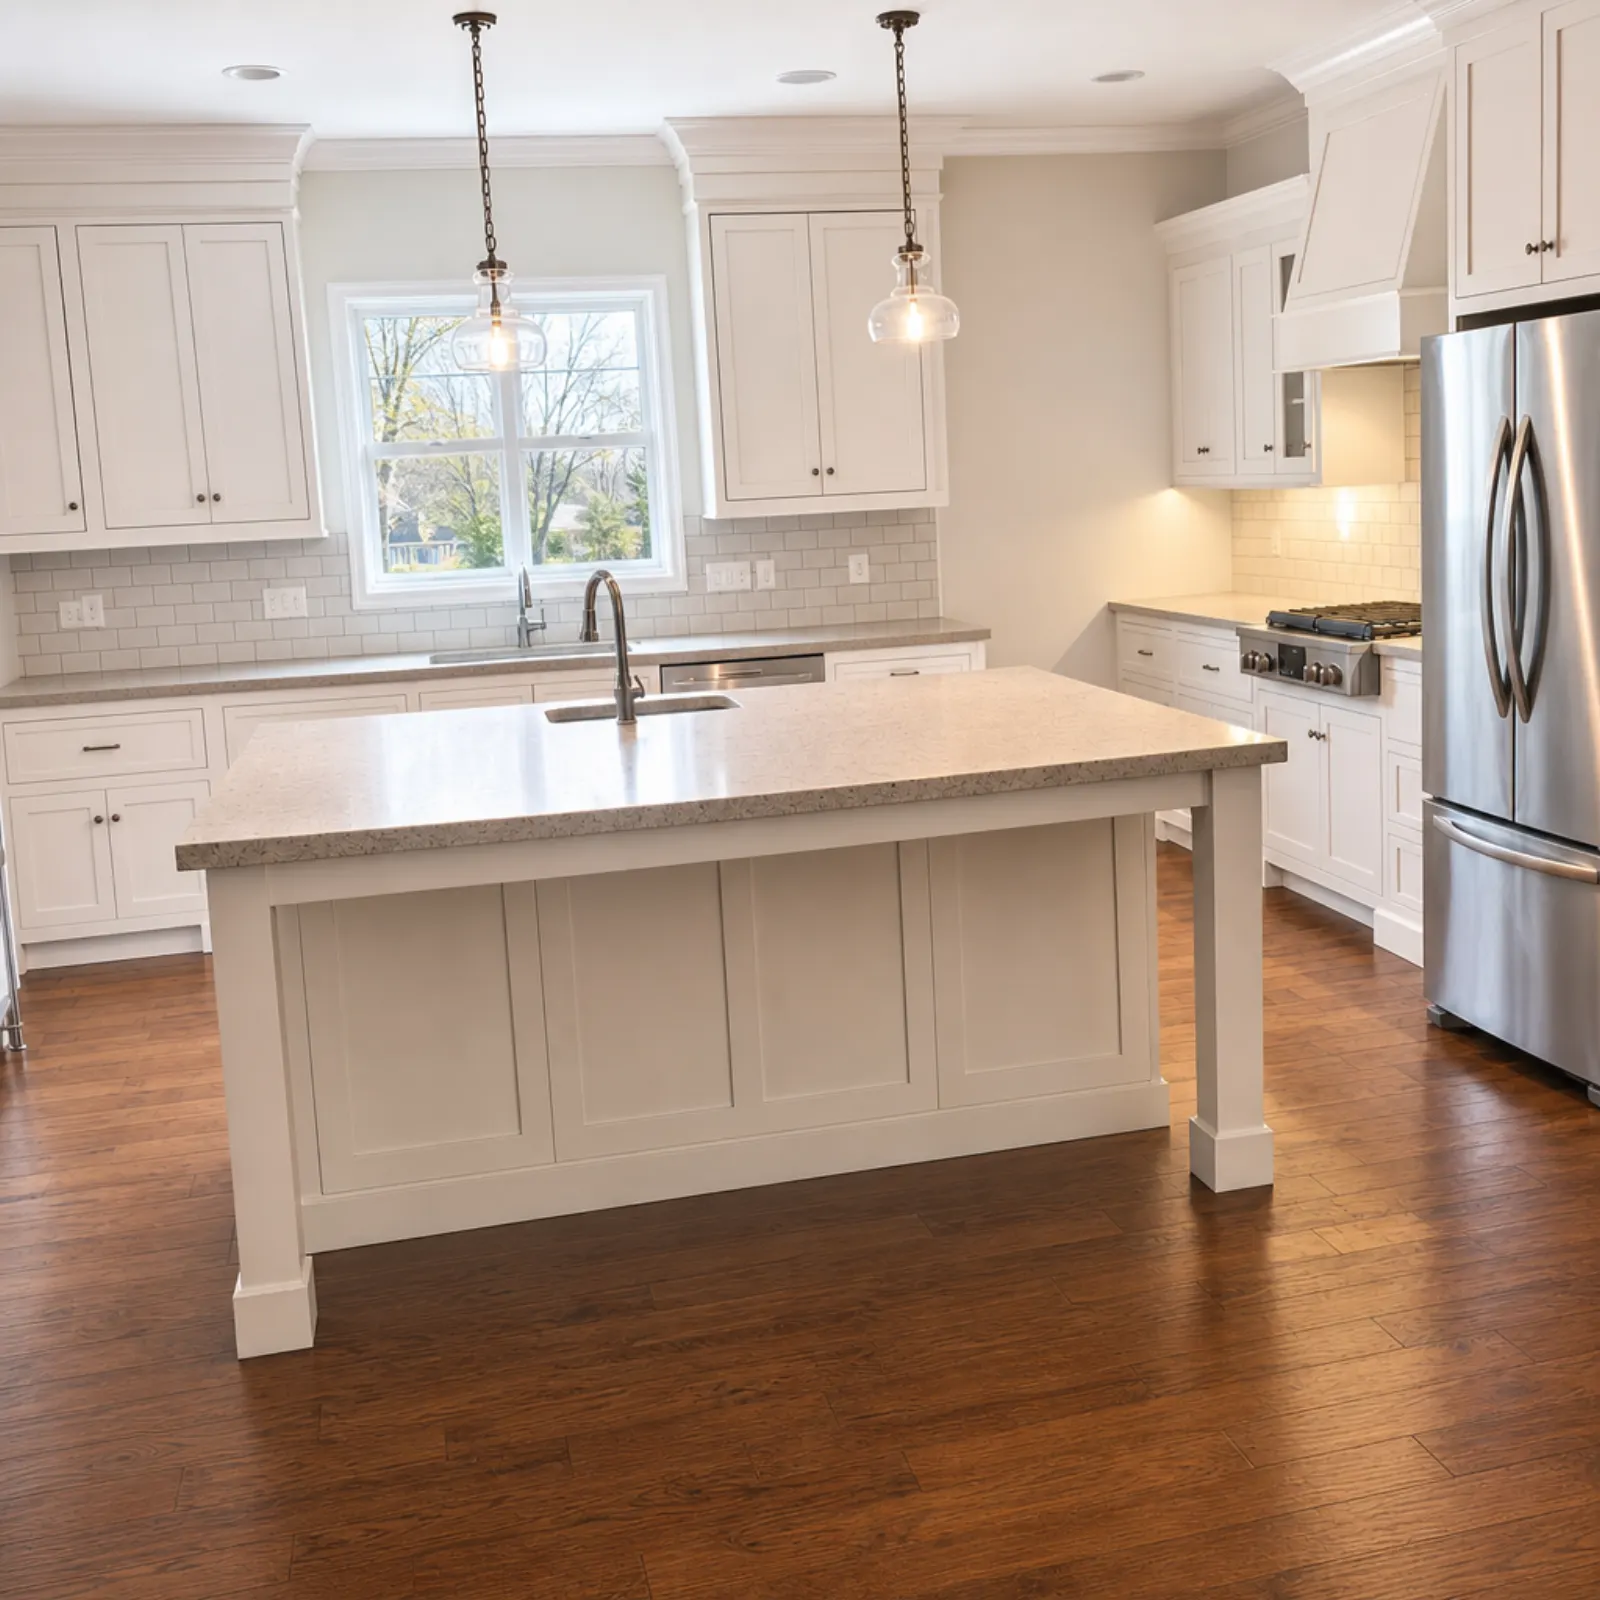
For an empty room, Virtual staging adds furniture in one of eight styles and labels the file "virtually staged". First, check your board's rules in our guide to Virtual staging and MLS rules. If the seller's furniture is the problem, our guide to removing furniture from photos explains the options.
A quick routine for each room
- Lights on, blinds open, fan off, clutter gone.
- Stand in the corner opposite the best wall.
- Hold the phone horizontally at light-switch height. Select 0.5x.
- Align the phone so it's level.
- Tap a wall and adjust the exposure until the room looks right. Hold for AE/AF Lock.
- Check the frame edges for stretched furniture. Look for your reflection too.
- Take two shots. Move on.
The first house will feel slow. By the third listing, you'll stop thinking about the steps and just walk through the rooms.
For the app built around this routine, see the real estate photography app.
Shoot your next listing on your iPhone and edit it before you leave. Start free: 1 credit.
Questions
Should I use the 0.5x lens for real estate photos?
Use 0.5x for most rooms, as it is the only way to fit a standard bedroom or kitchen in a single frame. Keep the phone level and furniture away from the edges of the frame, where the ultra-wide lens distorts objects the most.
How high should I hold my iPhone for property photos?
Around light-switch height, or roughly chest height for most adults. If you shoot from below eye level, the ceiling won't dominate the frame, and you can keep the phone level without cutting off furniture.
Should I turn HDR off on my iPhone for real estate?
No. Current iPhones apply HDR automatically when a scene needs it, which is exactly what a room with bright windows requires. Only iPhone 11, SE (2nd generation) and 12 models let you switch Smart HDR off, and there is no reason to do so for interiors.
Horizontal or vertical photos for a property listing?
Horizontal. MLS galleries and most property portals display photos in landscape format, so vertical shots are scaled down with bars on each side.
What time of day is best for real estate photos?
For the front exterior, shoot when the sun is hitting the facade: in the morning for east-facing homes and in the afternoon for west-facing ones. Interiors look best in bright, indirect light, so avoid the time when sunlight falls in harsh patches across the floor.
Are iPhone photos good enough for a property listing?
For a unit, entry-level home, rental or FSBO listing in good light, yes, if you shoot from a corner with the phone level and every light on, then edit for colour and straight lines. For luxury homes, or listings that need drone shots, twilight shots or video, it is still worth hiring a professional photographer.