 Real Estate Camera
To photograph your own house for a for sale by owner listing, prep it harder than feels necessary, then shoot every room from a corner with your phone held level at chest height, horizontal, with every light on. Take the front exterior when the sun is on it. Post around 22 to 27 photos, the range Zillow recommends, and fix the light and leaning walls before they go up.
You don't need a DSLR. You need a clean house, a charged phone and about two hours. Here's the order I'd do it in.
Why the photos matter more when you sell it yourself
An agent's listing lands in the MLS, gets syndicated everywhere, and has another agent pushing it to buyers. Yours mostly lives on sites like Zillow's FSBO listings, which are free and allow unlimited photos. The photos are doing the selling work an agent would otherwise do. They decide whether someone calls you.
Zillow's photography guide says homes with fewer than nine photos were about 20% less likely to sell within 60 days. That research dates from 2019, but the lesson hasn't changed: a thin gallery makes buyers assume you're hiding something.
Prep: the day before
Everything a buyer sees in a photo, they assume comes with the house or tells them how it's been cared for. Go room by room.
- Clear every counter. Toaster, knife block, dish rack, soap, sponges. Leave one plant or a bowl of lemons if you like.
- Take the fridge magnets and school photos down. Zillow's guide calls this depersonalizing. Buyers need to picture their stuff, not yours.
- Put away toys, pet bowls, the pet bed, shoes by the door and the mail pile.
- Make every bed and smooth the duvet flat. Wrinkles look worse in photos than in person.
- Wash the windows inside and out, and take the screens off the ones you'll photograph. Screens make windows look grey.
- Swap dead bulbs and try to match color. One cool-white bulb in a room of warm ones shows up as a blue patch.
- Outside: mow, sweep the walk and driveway, coil the hose, put the bins in the garage.
If the house is crowded with furniture, move some of it out for the shoot. A room with less in it looks bigger, and you're going to pack it anyway.
The shot list
This is the list I'd use for a typical three bedroom, two bath house. It comes out to about 25 photos.
- Front exterior at an angle from one front corner, showing the front and a bit of the side. Zillow's guide recommends this because it shows the depth of the house.
- Front exterior straight on from across the street.
- Entry, looking in from the front door.
- Living room from two corners.
- Kitchen from two or three angles, including one that shows how it connects to the dining or living area.
- Dining area.
- Primary bedroom from the corner opposite the bed.
- Primary bathroom.
- Each other bedroom, one photo each.
- Other bathrooms, one photo each.
- Anything buyers will ask about: a finished basement, a home office, a big walk-in closet, the laundry room if it's nice.
- Back of the house and the yard, plus the patio or deck.
- Garage, only if it's clean.
Take several frames of each and keep the best. Our full real estate photo shot list goes deeper on angles for each room.
How to hold the phone
Four habits separate a decent phone listing from a bad one.
- Horizontal, always. Listing sites show photos in a wide frame. Vertical shots get shrunk with grey bars.
- Chest height. Zillow's guide says chest height gives the most accurate perspective, and I agree. Eye level shows too much floor or ceiling.
- Level. Turn on the grid in your camera settings and line up a door frame with a vertical line. If you tilt the phone, walls lean. Fixing leaning vertical lines explains why.
- Ultra-wide for rooms, 1x for details. The 0.5x lens fits a whole bedroom in frame. Keep furniture away from the edges where it stretches.
Before each shot, tap a wall, not the window, so the phone exposes for the room. On iPhone, our iPhone guide has the exact settings. The same ideas apply on Android.
Light and timing
Turn on every light, open every blind, and shoot the interior in the middle of the day when the rooms are brightest. For the front, Zillow's advice is to shoot when the sun is behind you and lighting the front of the house. That means morning for an east-facing front and afternoon for a west-facing one. Our exterior photo guide covers north and south-facing homes and overcast days.
Zillow's photo guide for sellers also suggests swapping a grey sky for a blue one. I'd skip that. Buyers drive by before they book a showing. If the photo shows a blue sky over a house they're seeing on a grey afternoon, the first impression in person is that your photos aren't straight with them. That's a bad start when you're also the one negotiating.
Editing on your phone
Even careful phone photos come out with a yellow cast from bulbs, windows blown out to white, and walls leaning a degree or two. You can fix those in your phone's photo editor, a few minutes per photo. Keep it light. Pushing brightness and saturation too far makes rooms look fake, and buyers read that as a cover-up.
Real Estate Camera was built for exactly this. Shoot in the app or upload photos you've already taken on the web. Enhance fixes light, white balance and verticals and brings the view back into the windows, in 20 to 60 seconds for 1 credit. It keeps the sky as you shot it and doesn't touch the house itself.
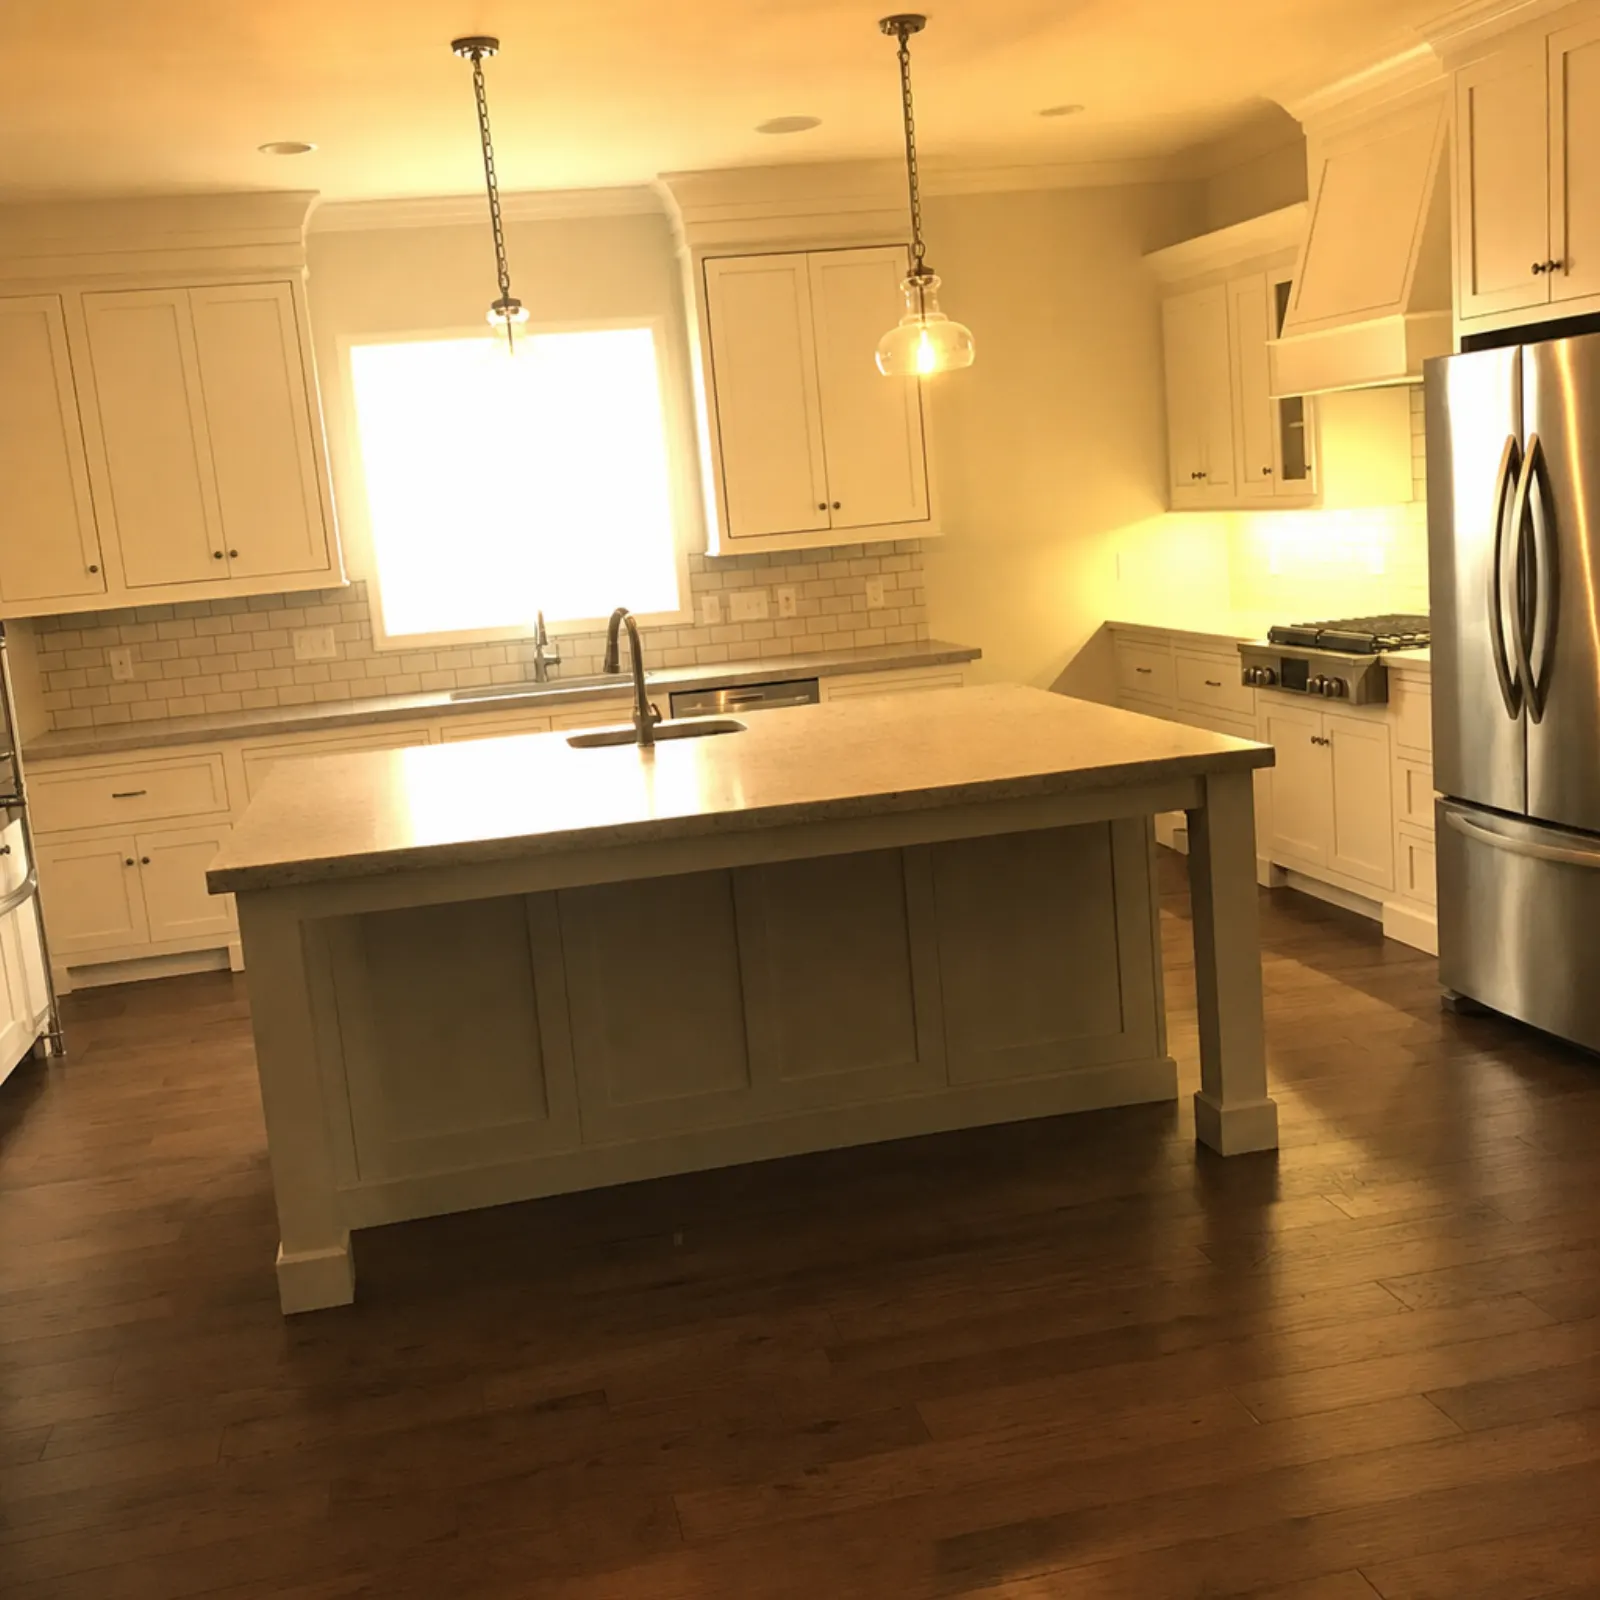
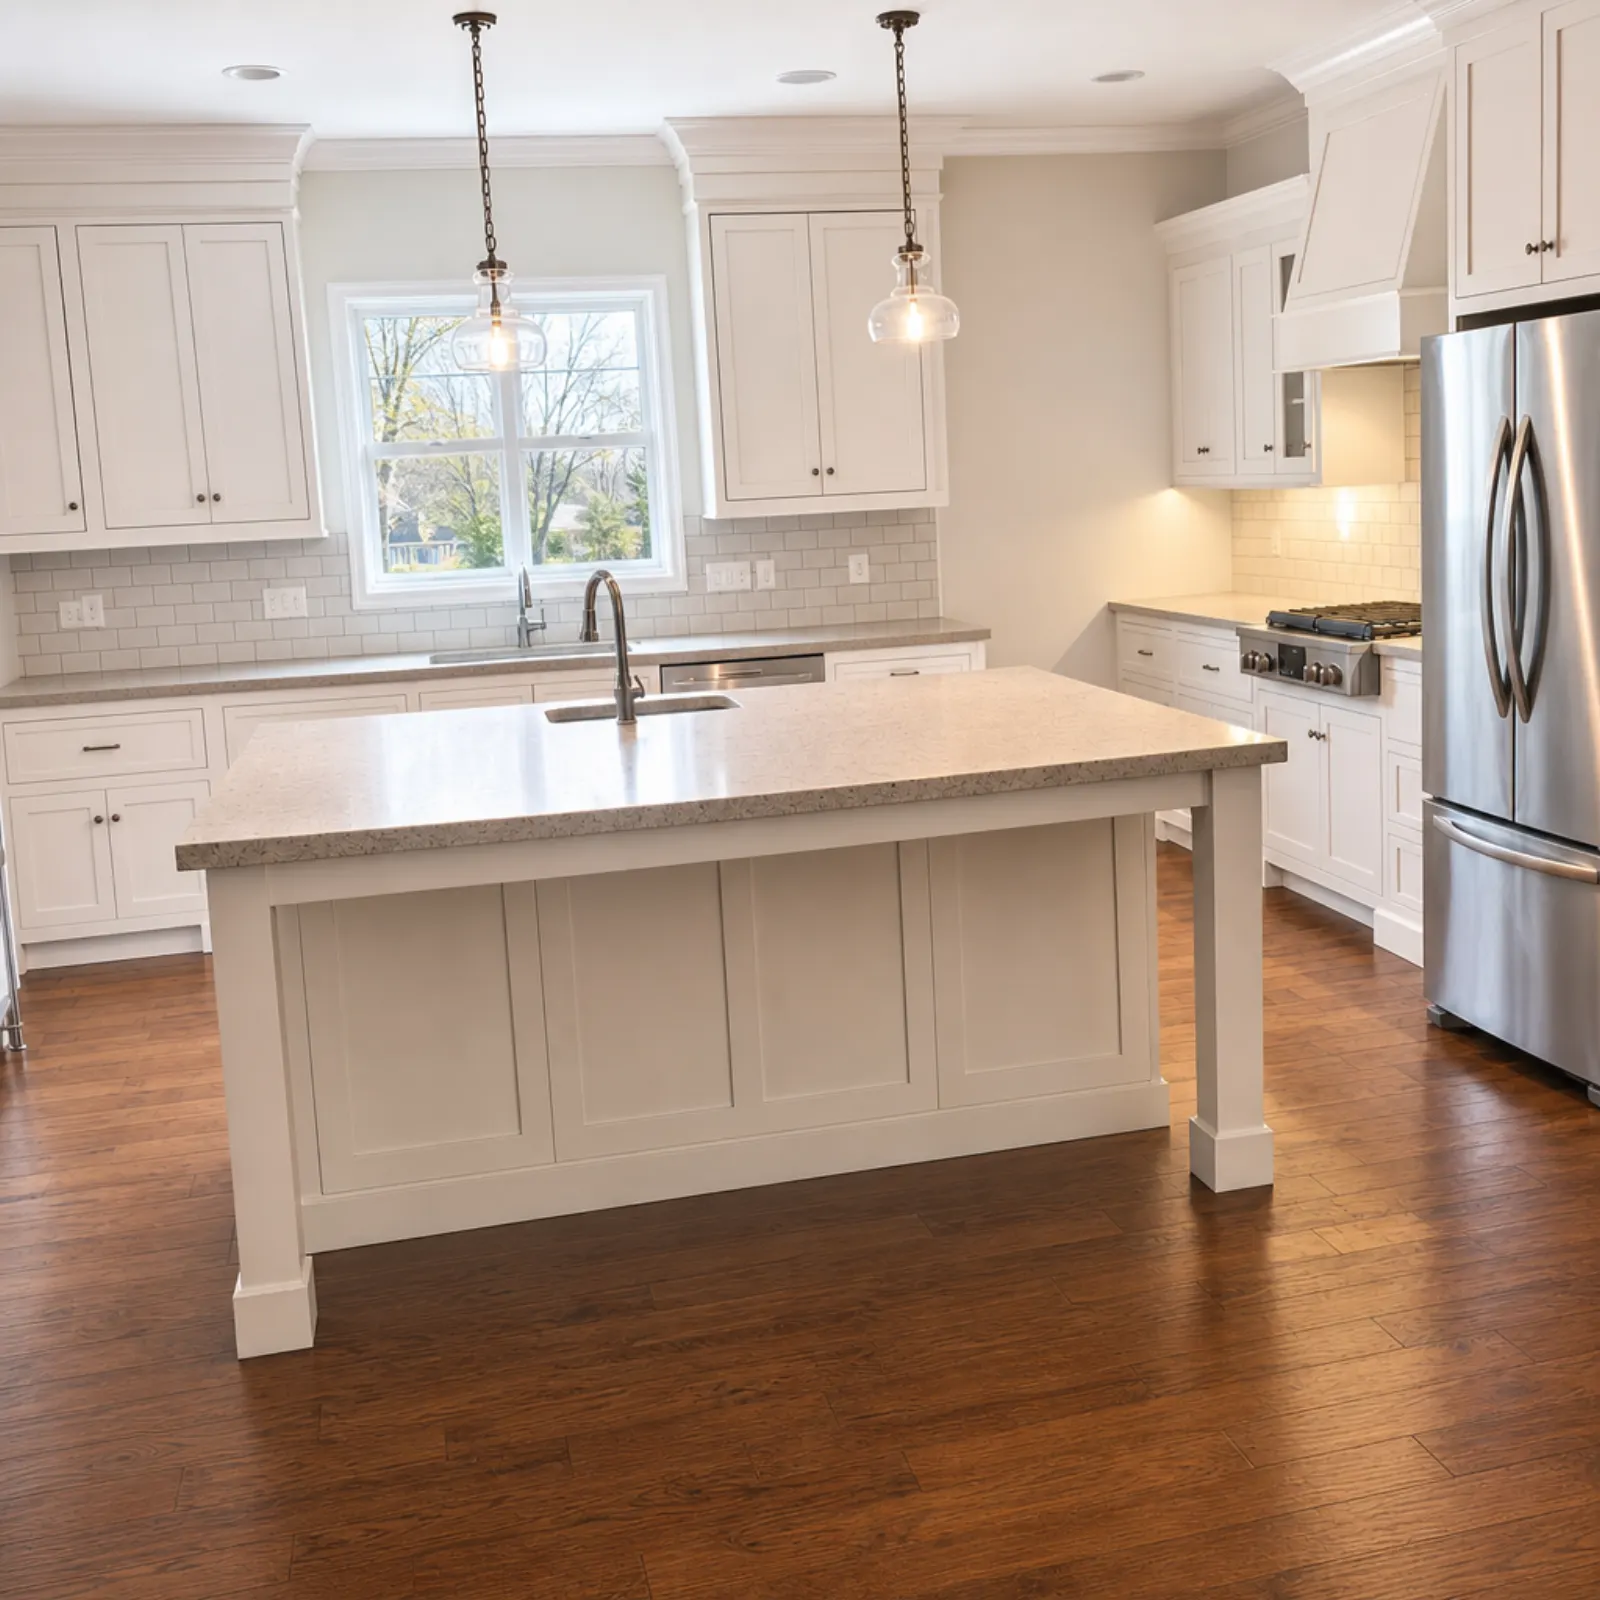
Your first credit is free, so you can try it on your worst photo before you pay anything. A 25-photo listing uses 25 credits for Enhance. The 60-credit pack is $24.99, credits never expire, and a failed edit refunds automatically.
If you've already moved out
Empty rooms are hard to read in photos. Buyers can't judge size without furniture. Virtual staging adds furniture to an empty room in one of eight styles, for 2 credits a photo. Stage the living room and the primary bedroom and leave the rest empty. Does virtual staging help sell a house explains which rooms are worth it.
If you're still living there and can't clear a room, Declutter removes furniture and decor and rebuilds the floor and walls behind them. It also costs 2 credits.
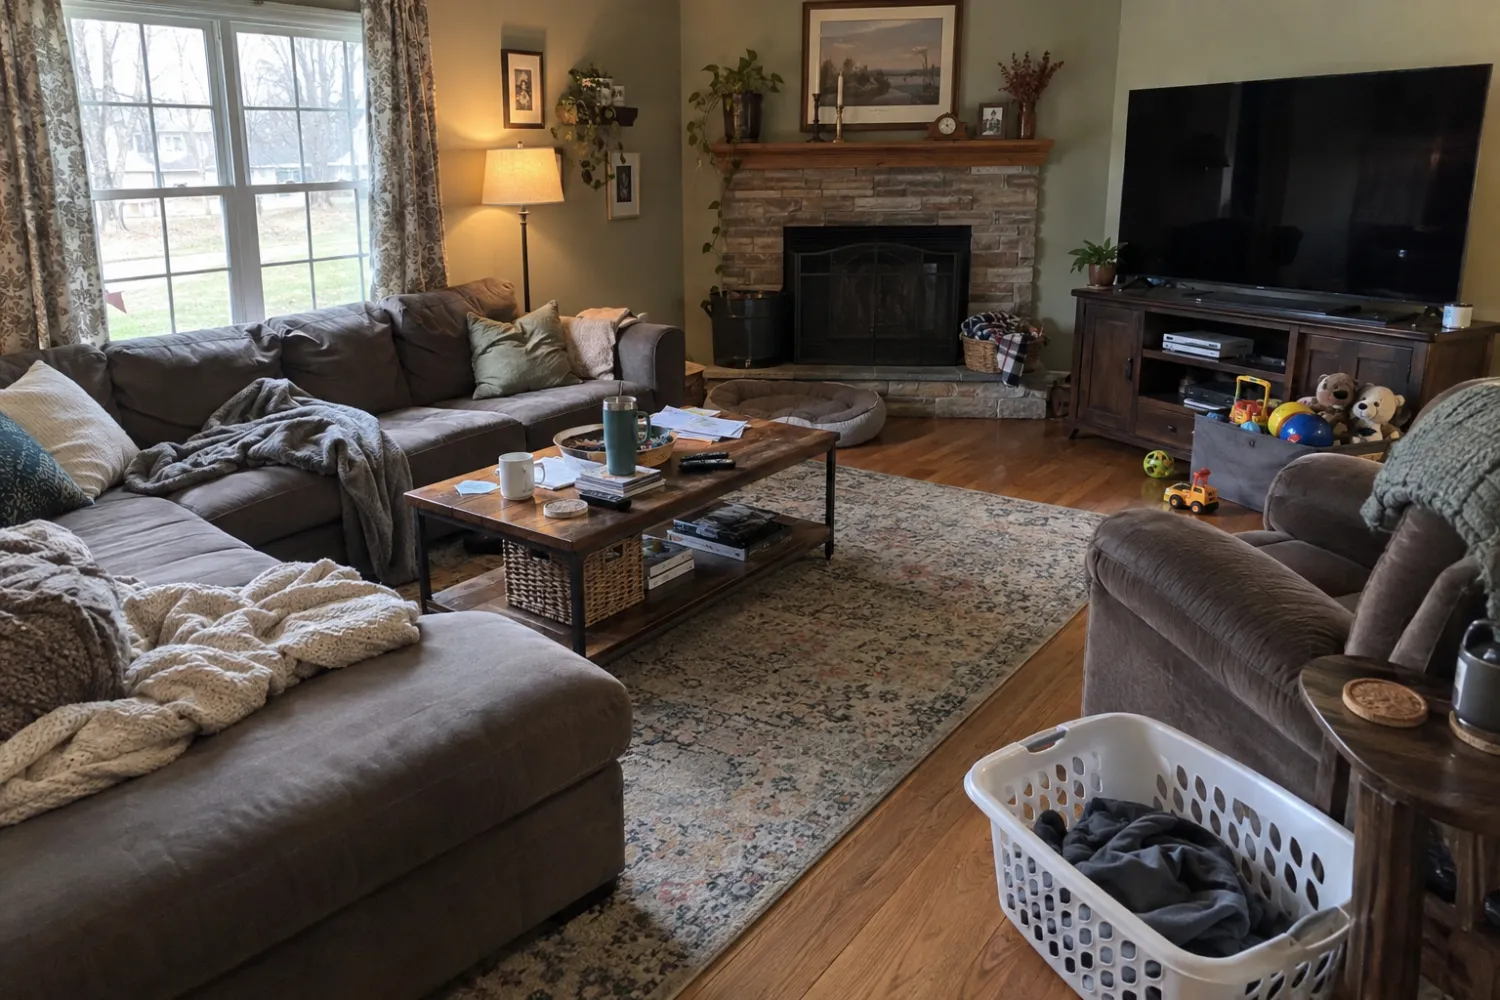
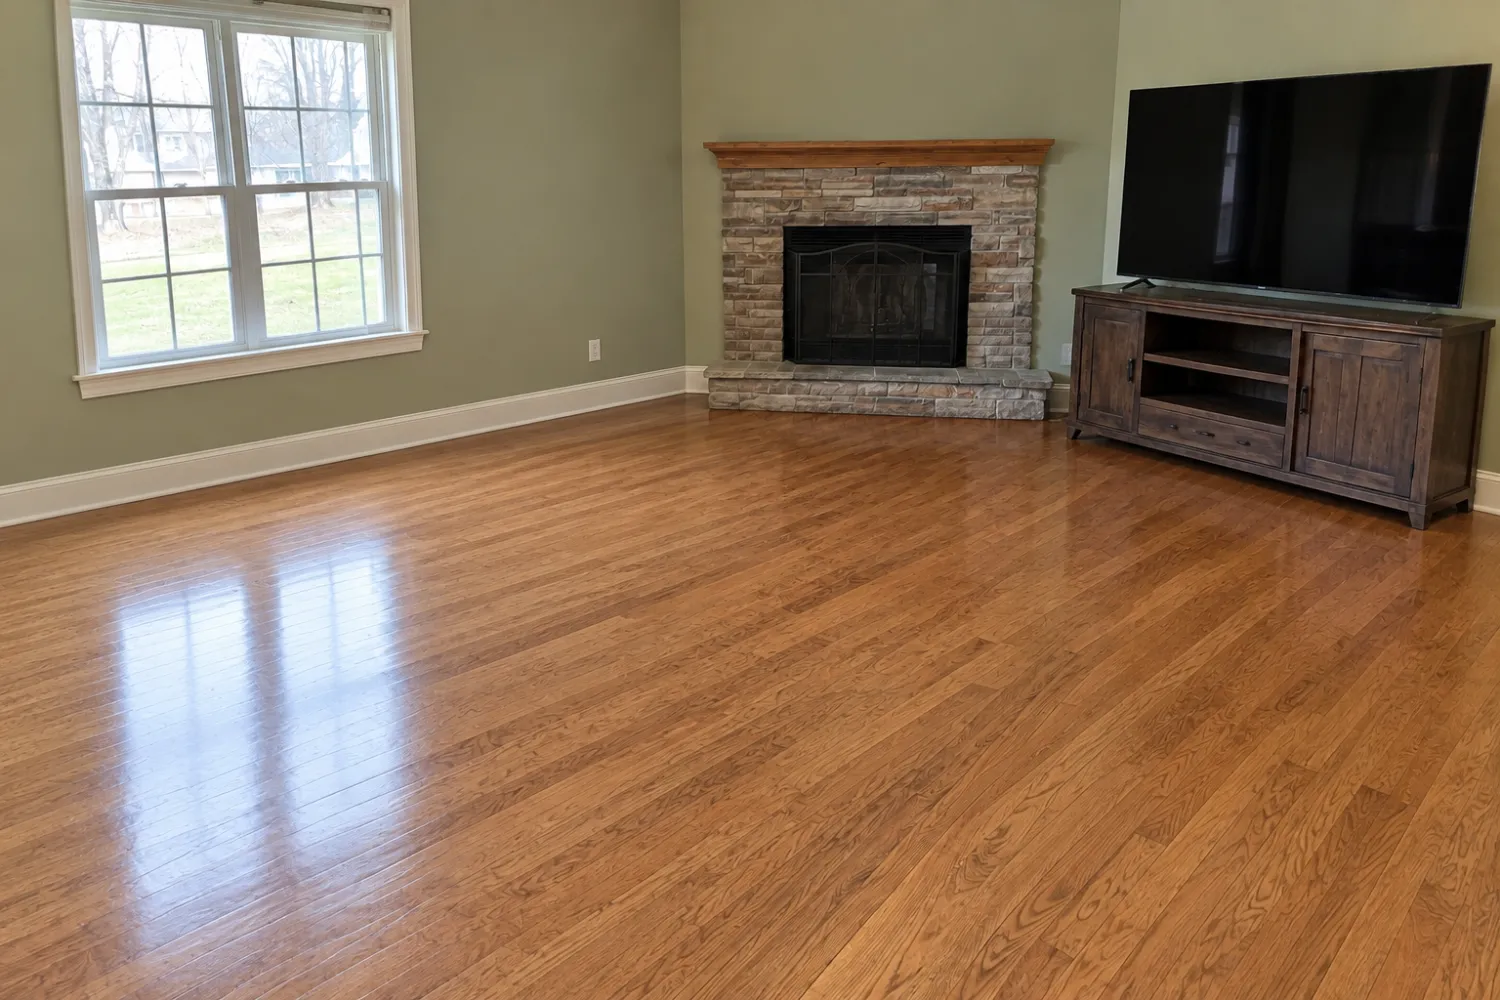
Either way, label it. California's AB 723 disclosure law is written for licensed agents and brokers, not owners, but buyers don't care who took the photo. Put "virtually staged" in the photo caption or the listing description, and post the empty version right next to it. The app flags every staged result and asks you to confirm the disclosure when you export. It doesn't print a label on the image, so the caption is your job. The MLS staging rules guide shows how agents are required to do it, which is a good standard to copy.
Before you post
- Order the gallery the way a buyer walks through: front, entry, living, kitchen, bedrooms, baths, yard.
- Make the first photo the best exterior. It's the thumbnail in search results.
- Look at every photo full screen on your phone. Check mirrors, oven doors and windows for your reflection.
- Delete near-duplicates. Two good angles of the kitchen, not five.
- Check that nothing in the photos is gone from the house. If you've sold the dining table, don't show it.
Then list it. If a photo underperforms, you can reshoot one room on a better day without redoing the whole set.
Questions
How many photos should a for sale by owner listing have?
Zillow's own guidance says 22 to 27. Its research found homes with fewer than nine photos were about 20% less likely to sell within 60 days. Zillow's FSBO listings allow unlimited photos, but a tight set of good ones beats 60 so-so ones.
Can I take FSBO listing photos with my phone?
Yes. A recent iPhone or Android phone with an ultra-wide lens is enough if you shoot level, at chest height, horizontally, with every light on. Most of the difference from a hired photographer is prep and editing.
Should I replace a grey sky in my FSBO photos?
I wouldn't. Buyers will drive past the house before they call, and a blue sky that wasn't there is the first thing they'll notice. Shoot the front on a clear day with the sun on it, or accept an honest overcast sky.
Do I need to disclose virtual staging if I'm selling by owner?
California's AB 723 is written for licensed brokers and agents, but I'd label it anyway. Write "virtually staged" in the caption or description and post the empty photo next to it so buyers aren't surprised at the showing.